


Change a Motorcycle Tire Without a Machine
Yes, you can change a motorcycle tire without a machine. Riders have been doing it for years with tire irons, basic leverage and varying amounts of patience. The important part is knowing where the job...

Changing a Harley-Davidson tire isn’t “hard” … it’s just one of those jobs that can turn into an all-day wrestling match if you don’t have a plan (or the right tools).
The good news: with the Rabaconda Street Bike Tire Changer, you can change a Harley-Davidson tire yourself, in your own garage, without a lift or a shop appointment. Trust us: it feels pretty great rolling out on fresh rubber that you installed yourself.
This guide walks you through every step, from breaking a stubborn bead on a touring bike to seating and balancing the new tire correctly, with tips for both front and rear tires and a few “learned-it-the-hard-way” pointers to keep things smooth. That includes challenging tires like a stock Dunlop D407 off a Harley-Davidson Ultra Classic that had been on for 9 years, and the Dunlop D402 on an Electra Glide, which is about as difficult as it gets. If you can do that one, you can do any HD tire.
Works for: Sportster, Softail, Fat Boy, Dyna, Road King, Street Glide, Electra Glide, Ultra Classic and most other HD models front and rear. Trike riders are good to go as well with the addition of one small, low-cost adapter, which we'll cover below.
A note on model variation: Harley-Davidson models vary significantly in wheel size, tire clearance and rear wheel removal. Always check your service manual for torque specs and model-specific steps, especially on touring bikes and rear wheels where belt/chain alignment matters.
Here’s the short list that keeps this from becoming a driveway disaster:
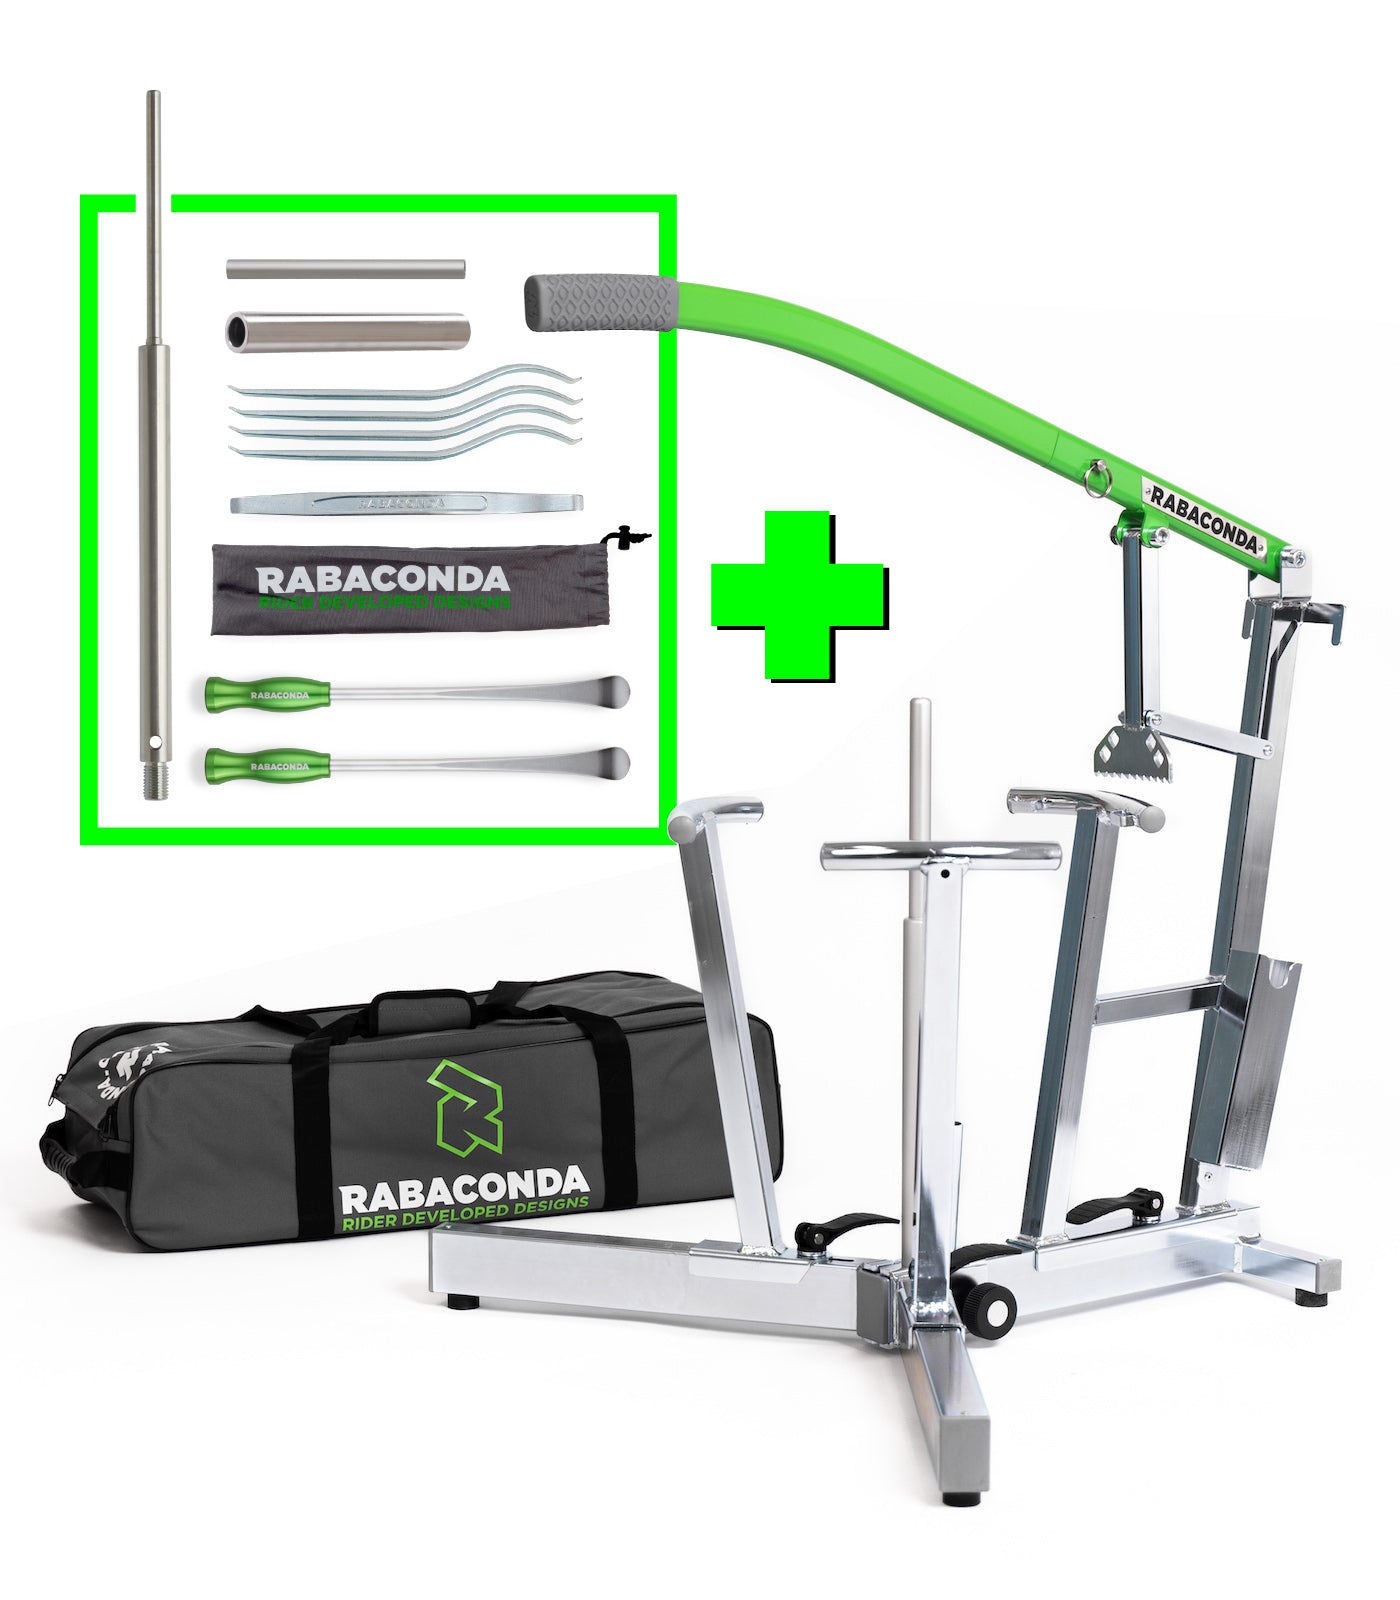
Rabaconda Street Bike Tire Changer (with adapters and accessories for your bike)
Trike and older HD models: Most Harleys fit the standard Street Bike Tire Changer 20mm spindle. Some older models use the smaller 15mm spindle included in the kit. Trike riders will need the Universal Big Hub Adapter.
Bead Grease Tire Mounting Lubricant for mounting
Soapy water for dismounting. Dawn Dish Soap is our go-to
Valve Core Tool + new valve stem (recommended)
Air compressor
Rabaconda Motorcycle Wheel Balancer + Motorcycle Wheel Weights (recommended)
New tire (verify size + speed/load rating before you order)
Blue Threadlocker (where specified in your manual)
Rubber gloves
Get the wheel off the bike per your service manual. For rear wheels on touring models, pay attention to belt tension, axle spacers and ABS sensors before pulling anything. Once the wheel is off, remove the valve cap and core to fully deflate the tire before you touch the Rabaconda
This is the step Harley owners dread most, and for good reason. HD tires, especially older touring rubber like a Dunlop D402 or D407 that's been on for years, can have a bead that feels welded to the rim.
On the Street Bike Tire Changer:
Set the wheel on the machine with the magnetic wheel supports half under the rim, half under the tire sidewall
Start opposite the valve stem
Work the bead breaker arm in small bites of 2 to 3 inches at a time, never more. Avoid taking one big bite with the bead breaker.
Keep the bead breaker clear of the rim edge; you're pressing the bead down into the drop center, not prying against the rim
One thing to avoid: soaking the entire tire with soapy water before breaking the bead. It sounds helpful but the bead breaker will slide up the sidewall instead of getting a solid bite to press the tire into the drop center. If the bead is being stubborn, spray soapy water directly into the bead with a little pressure already applied by the bead breaker, and work your way around. That targeted approach weakens the bead where it counts without killing your grip.
Note: On some belt-drive models, the rear pulley may need to come off before the tire will clear. Check your manual.
Still getting the hang of it? Watch this full rear tire change on a Harley-Davidson to see the bead break in action before you dive in.
Clean the rim before you go further. Any grit under the duck head will scratch the rim.
Mount the ratchet mechanism, duck head snug against the rim edge
Use the rim stopper tool for cast or mag wheels; use the included strap for spoked wheels. This keeps the wheel from spinning against the stand.
Position the ratchet at 6 o'clock
Work the tire iron to lift the first bead up and snap it into the duck head slot
Add more soapy water
Stand at 4 o'clock behind the machine, then work the ratchet arm around to walk the duck head around the wheel
Once the first bead clears, remove the green ratchet arm and set it aside
Get behind the wheel with the tire iron and pull the second bead up and over the lip
Secure the tire iron in the slot
Grab the bead breaker arm and work it around. The tire iron will drop out on its own when the bead clears
If you're fighting it: More soapy water. Almost always. That's the answer.
Want to see the full removal process on a real bike? This Fat Boy walkthrough covers both beads from start to finish.
Before anything else: check the rotation direction arrow on the new tire sidewall. Getting it wrong means pulling it back off.
Apply bead grease generously to both beads of the new tire and around the rim edge before you start. This is the step that makes everything else easier. A dry bead on a Harley touring tire will fight you the whole way around.
The first bead usually goes on by hand. Start it around the rim and work it on.
If needed, use the ratchet arm and duck head to walk it on, starting at 12 o'clock.
For the second bead, add another pass of bead grease, then position the duck head at 12 o'clock and work the ratchet arm around the wheel.
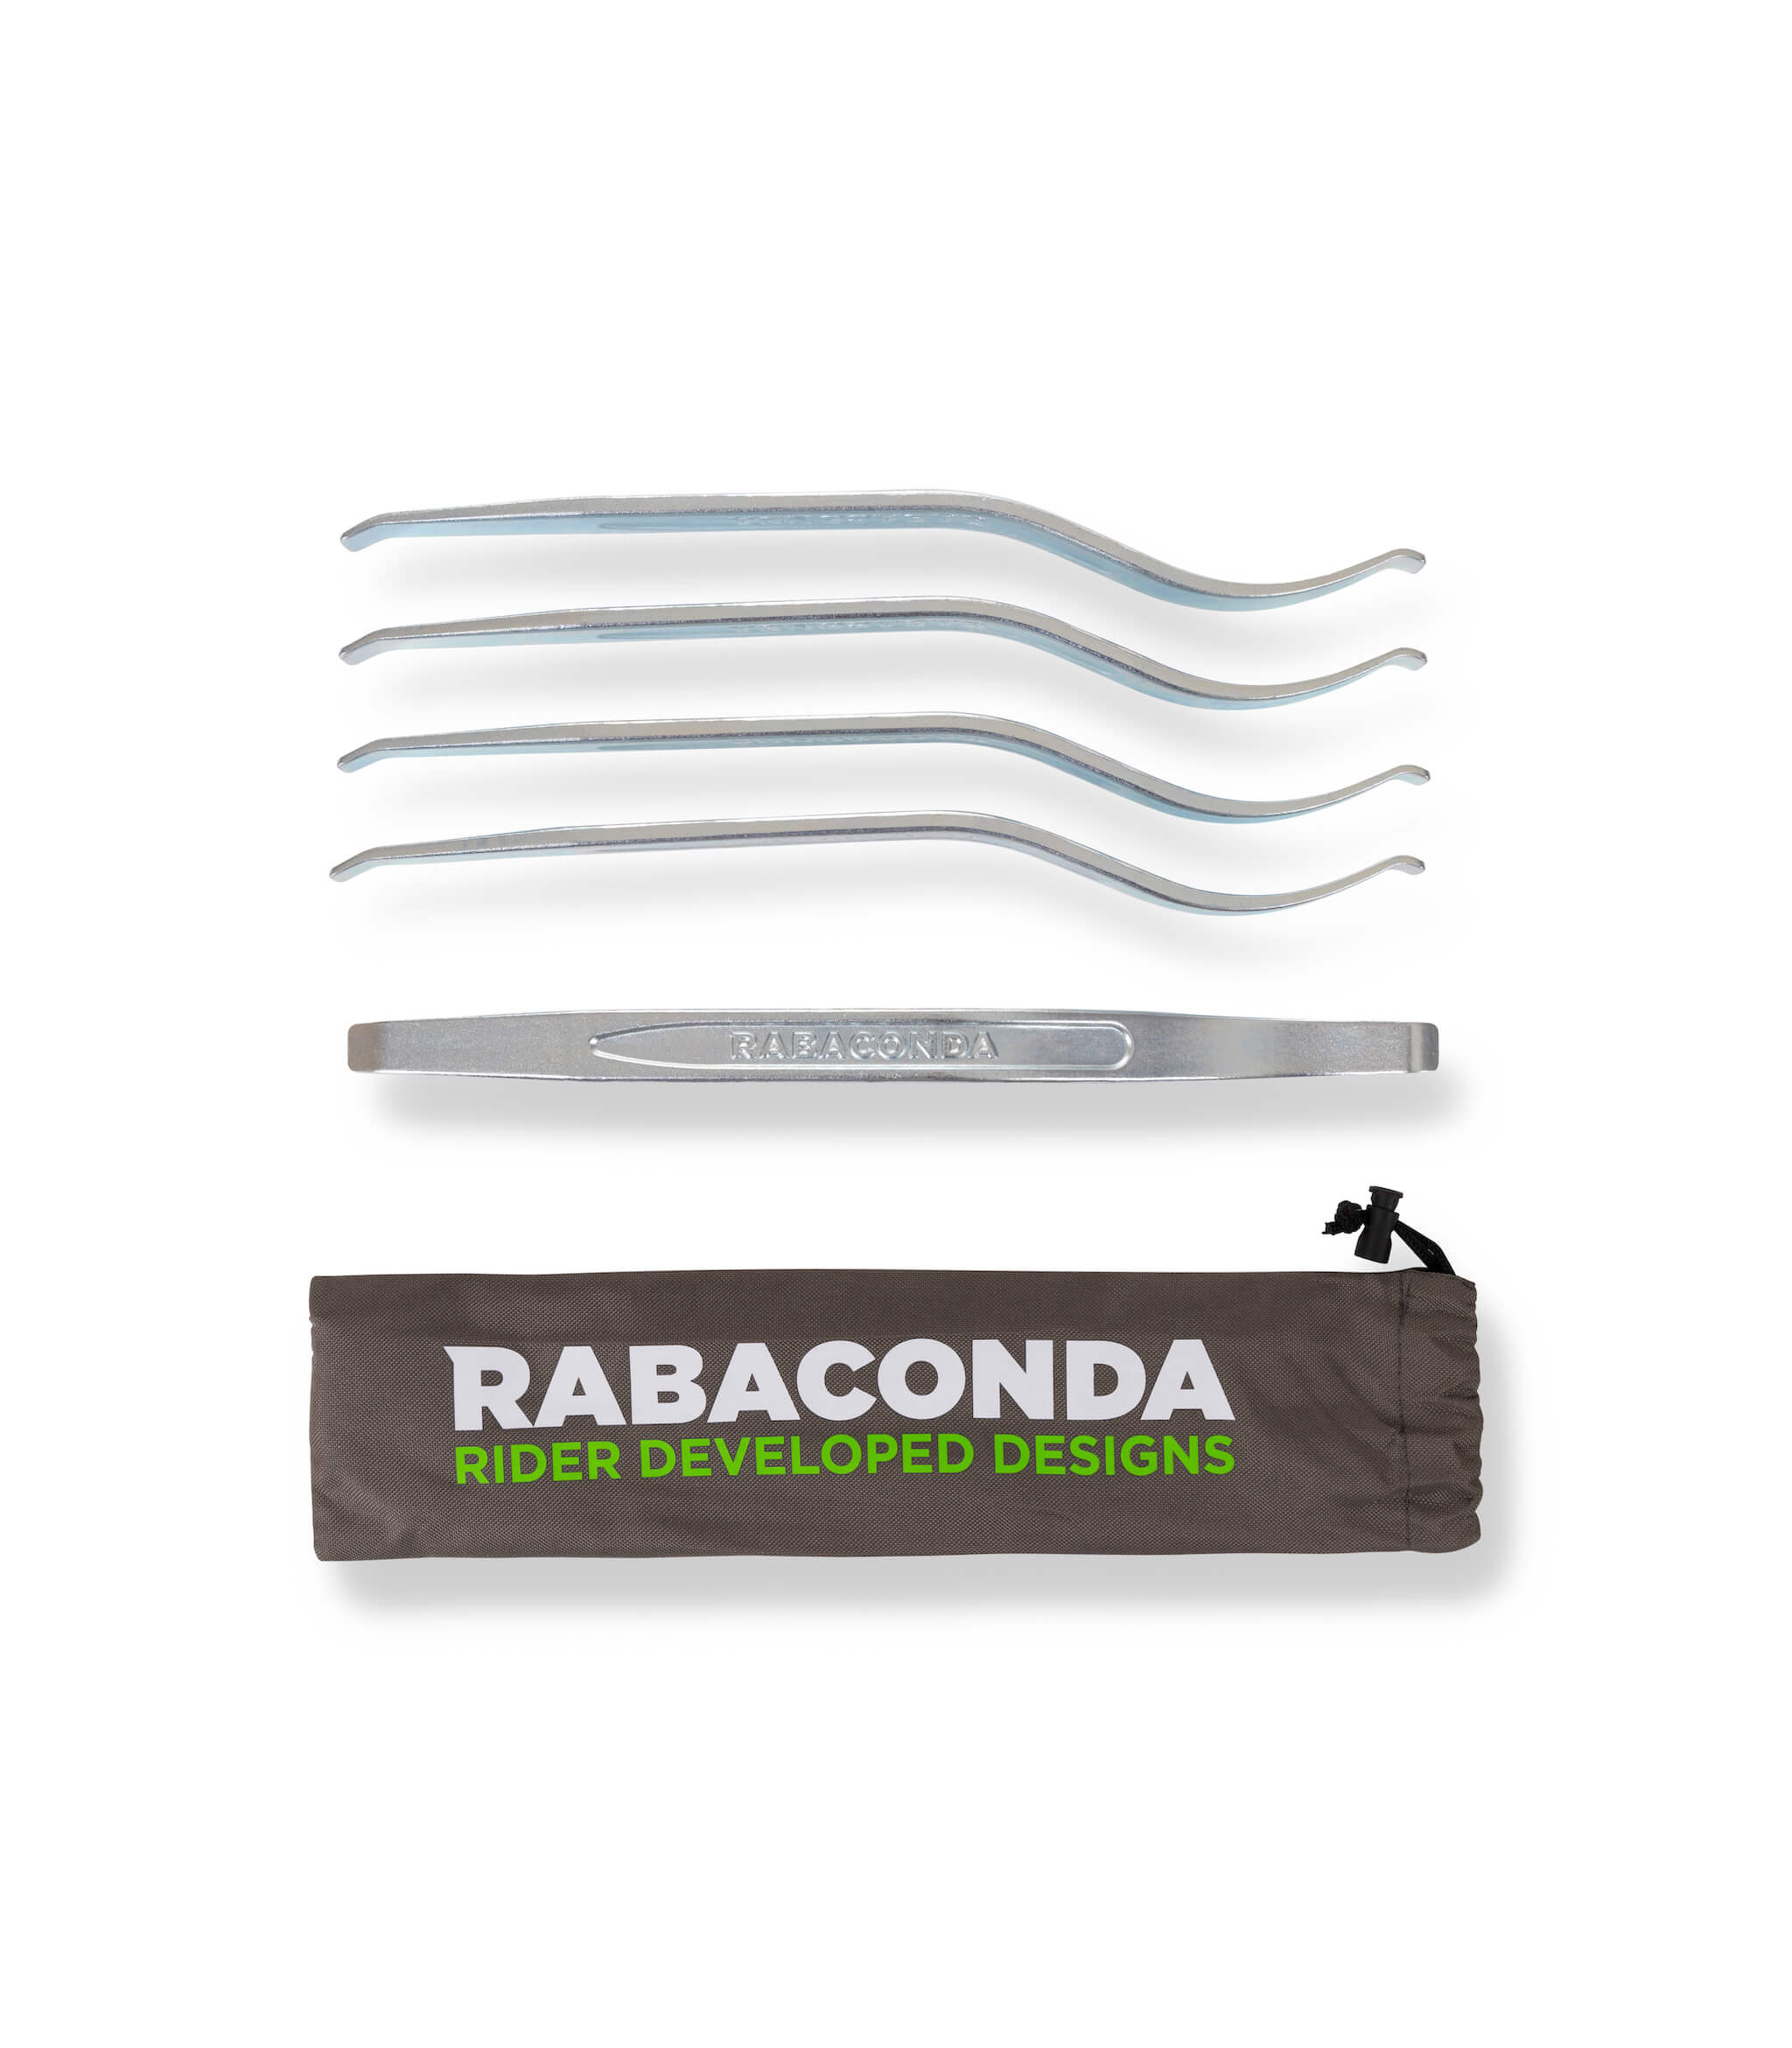
Stiff tires (common on Harley touring sizes): use the included Drop Center Tools to push the tire into the drop center as you go. Use both if needed.
Harley tire rotation direction: Most HD rear tires have a directional arrow. Always mount with the arrow pointing in the direction of forward wheel rotation. When in doubt, the tire sidewall will show it.
Here's the full mounting process on a Dyna Wide Glide, if you want to see the ratchet arm and drop center tools in action before you start.
Install a fresh valve core
Inflate in short bursts. Don't just hold the trigger
Watch the bead line (the thin ridge on the tire sidewall). It should rise evenly around both sides
You'll hear one or two loud pops as the bead seats. That's normal
Set final pressure to your service manual spec
Safety: Never exceed the tire manufacturer's maximum seating pressure. If the bead won't seat after several attempts, stop, deflate, re-lube and reposition before trying again.
Skip this if you want. You'll know by mile 60 on the highway that you shouldn't have.
With the Rabaconda Motorcycle Wheel Balancer:
Mount the wheel on the balancer
Let it settle. The heavy spot will rotate to the bottom
Add stick-on weights at the 12 o'clock position, opposite the heavy spot
Repeat until the wheel stops consistently falling to the same place
Balancing matters more on heavier touring wheels and wider rear tires. A Fat Boy rear or a Road King front wheel that's even slightly out of balance is noticeable at speed.
After your first ride: Check tire pressure again at 25–50 miles. Confirm visually that everything looks right.
Expect to pay for labor plus mounting and balancing, often $50 to $100+ per tire depending on the shop. The Rabaconda Street Bike Tire Changer pays for itself in roughly 8 to 10 tire changes, and most riders hit that faster than they expect. Touring riders and anyone putting serious miles down will break even within a season or two.
First time with the Rabaconda: Plan on a relaxed couple of hours getting familiar with the tool and referencing the tire changer manual regularly for guidance. By your third or fourth tire, you'll have the process down to an hour or less for a set of tires.
Yes. Rear tires take more setup, belt or chain alignment, heavier wheel, sometimes tight clearances depending on the model, but nothing that a methodical approach and your manual can't handle.
The Street Bike Tire Changer handles 12-21 inch wheels up to 250mm wide, including wide touring rear tires. The standard spindle covers most models; the kit includes a smaller spindle for older HD setups and a Universal Big Hub Adapter is available for Trikes.
If you're putting serious miles on a Harley, tire changes are just maintenance, not a special occasion. The right setup makes it something you can knock out on a Saturday morning and be riding by noon.
The Rabaconda Street Bike Tire Changer was built for exactly this job.

