





Team Rabaconda Wins the Club Team Award at the 100th 6DAYS
Team Rabaconda won the Club Team Award at the 100th 6DAYS in Portugal. The riders share what the dust, the tests and daily tire changes were really like.

You just bought a set of tires and decided you're going to change them yourself. Great decision. Slightly less great: you've now typed "what is a tire iron" into a search bar, which means someone told you to grab one and nobody explained what it actually does.
No judgment here. Everybody who's ever changed a tire at home started in exactly this spot, staring at a bent piece of steel, wondering if it's a tool or modern art. This guide covers what a tire iron is, how to use one without pinching a tube or scratching a rim and what separates a good one from a bad one.
A motorcycle tire iron (also called a tire lever or tire spoon) is a flat, curved steel lever used to pry a tire's bead up and over the rim, both when you take an old tire off and when you put a new one on. You use it in small bites, working around the wheel a few inches at a time, with the bead on the opposite side pushed down into the center channel of the rim (the drop center) to give you slack. Use bead grease, keep the iron shallow so you don't catch a tube and protect the rim with a rim saver or tape, and you can do the whole job without a pinch flat or a scratch.

Sort of, and this confuses a lot of people. In the US, "tire iron" often means the L-shaped lug wrench that lives in your trunk next to the spare. That one removes lug nuts. It will not help you change a motorcycle tire.
The tire iron we're talking about is a motorcycle tire lever: a flat, spoon-shaped tool that works the tire bead over the rim. Same name, completely different job. Your trunk wrench is not invited to this party.
A tire sits on the rim because its bead, the stiff edge of the tire, tucks tight against the rim's lip. Getting it off or on means stretching that bead up and over the rim edge, and your hands alone usually can't manage that on a stiff tire. A tire iron gives you leverage.
The trick most beginners miss is that you're not fighting the whole tire at once. The bead on the opposite side of the wheel sits down in the drop center, which gives the part you're working on just enough slack to come over the edge. Almost every time a tire change goes badly, that slack is the missing piece. It's also the thing nobody mentions until you're sweating over a wheel at 9 p.m.
You don't need a shop. The beginner-friendly kit is short:
- Two or three tire irons. Simple street jobs can often get by with two or three. If you run dirt tires, mousse inserts or just want more control, a full set makes things easier.
- Bead grease for mounting and soapy water for dismounting. A slick bead slides. A dry bead fights you.
- Rim protection. Rim savers, plastic protectors or a wrap of tape on the iron's tip keep metal off your rim.
- A stable place to work. A wheel skating around the garage floor makes everything harder. You're changing a tire, not chasing a runaway hubcap.
- Your tire and wheel manufacturer's guidance. For pressure and seating specs, trust the people who made the tire, not a blog post, including this one.
This walkthrough is written for a tube-type tire on a spoked wheel, since that's where beginners most often get stuck and where pinching a tube is a real risk. The same technique applies to tubeless tires, minus the tube, but rim scratches are still very much on the table.
Going in too deep. The tip only needs to hook the bead. Jamming the iron in further puts your tube right in its path. Your tube has done nothing to deserve this.
Skipping the lube. A dry bead is a stubborn bead. Soapy water or bead grease makes a bigger difference than any tool upgrade. Think of lube as the "please" of tire changing.
Forgetting the drop center. If a tire feels impossible to mount, the bead on the far side probably isn't down in the channel. Fix that before you add more force.
Taking giant bites. Big yanks tear tubes, bend irons and scratch rims. Slow and steady wins every time, with far fewer swear words.
Skipping rim protection. Bare metal on a bare rim is how a clean wheel picks up battle scars. Rim savers, plastic protectors or tape cost almost nothing. Even with protection, a hard-working wheel picks up some marks over time, so don't panic over a tiny one.
Using too few irons or the wrong shape. If the tip slips constantly or fights getting under the bead, the tool itself may be part of the problem.
Not checking before inflating. A quick look and feel for a pinched tube saves you from doing the whole job twice.

Tire irons are simple tools on paper and very revealing in practice. A good one makes the job feel controlled. A bad one makes it feel like you're arguing with a wheel for no reason.
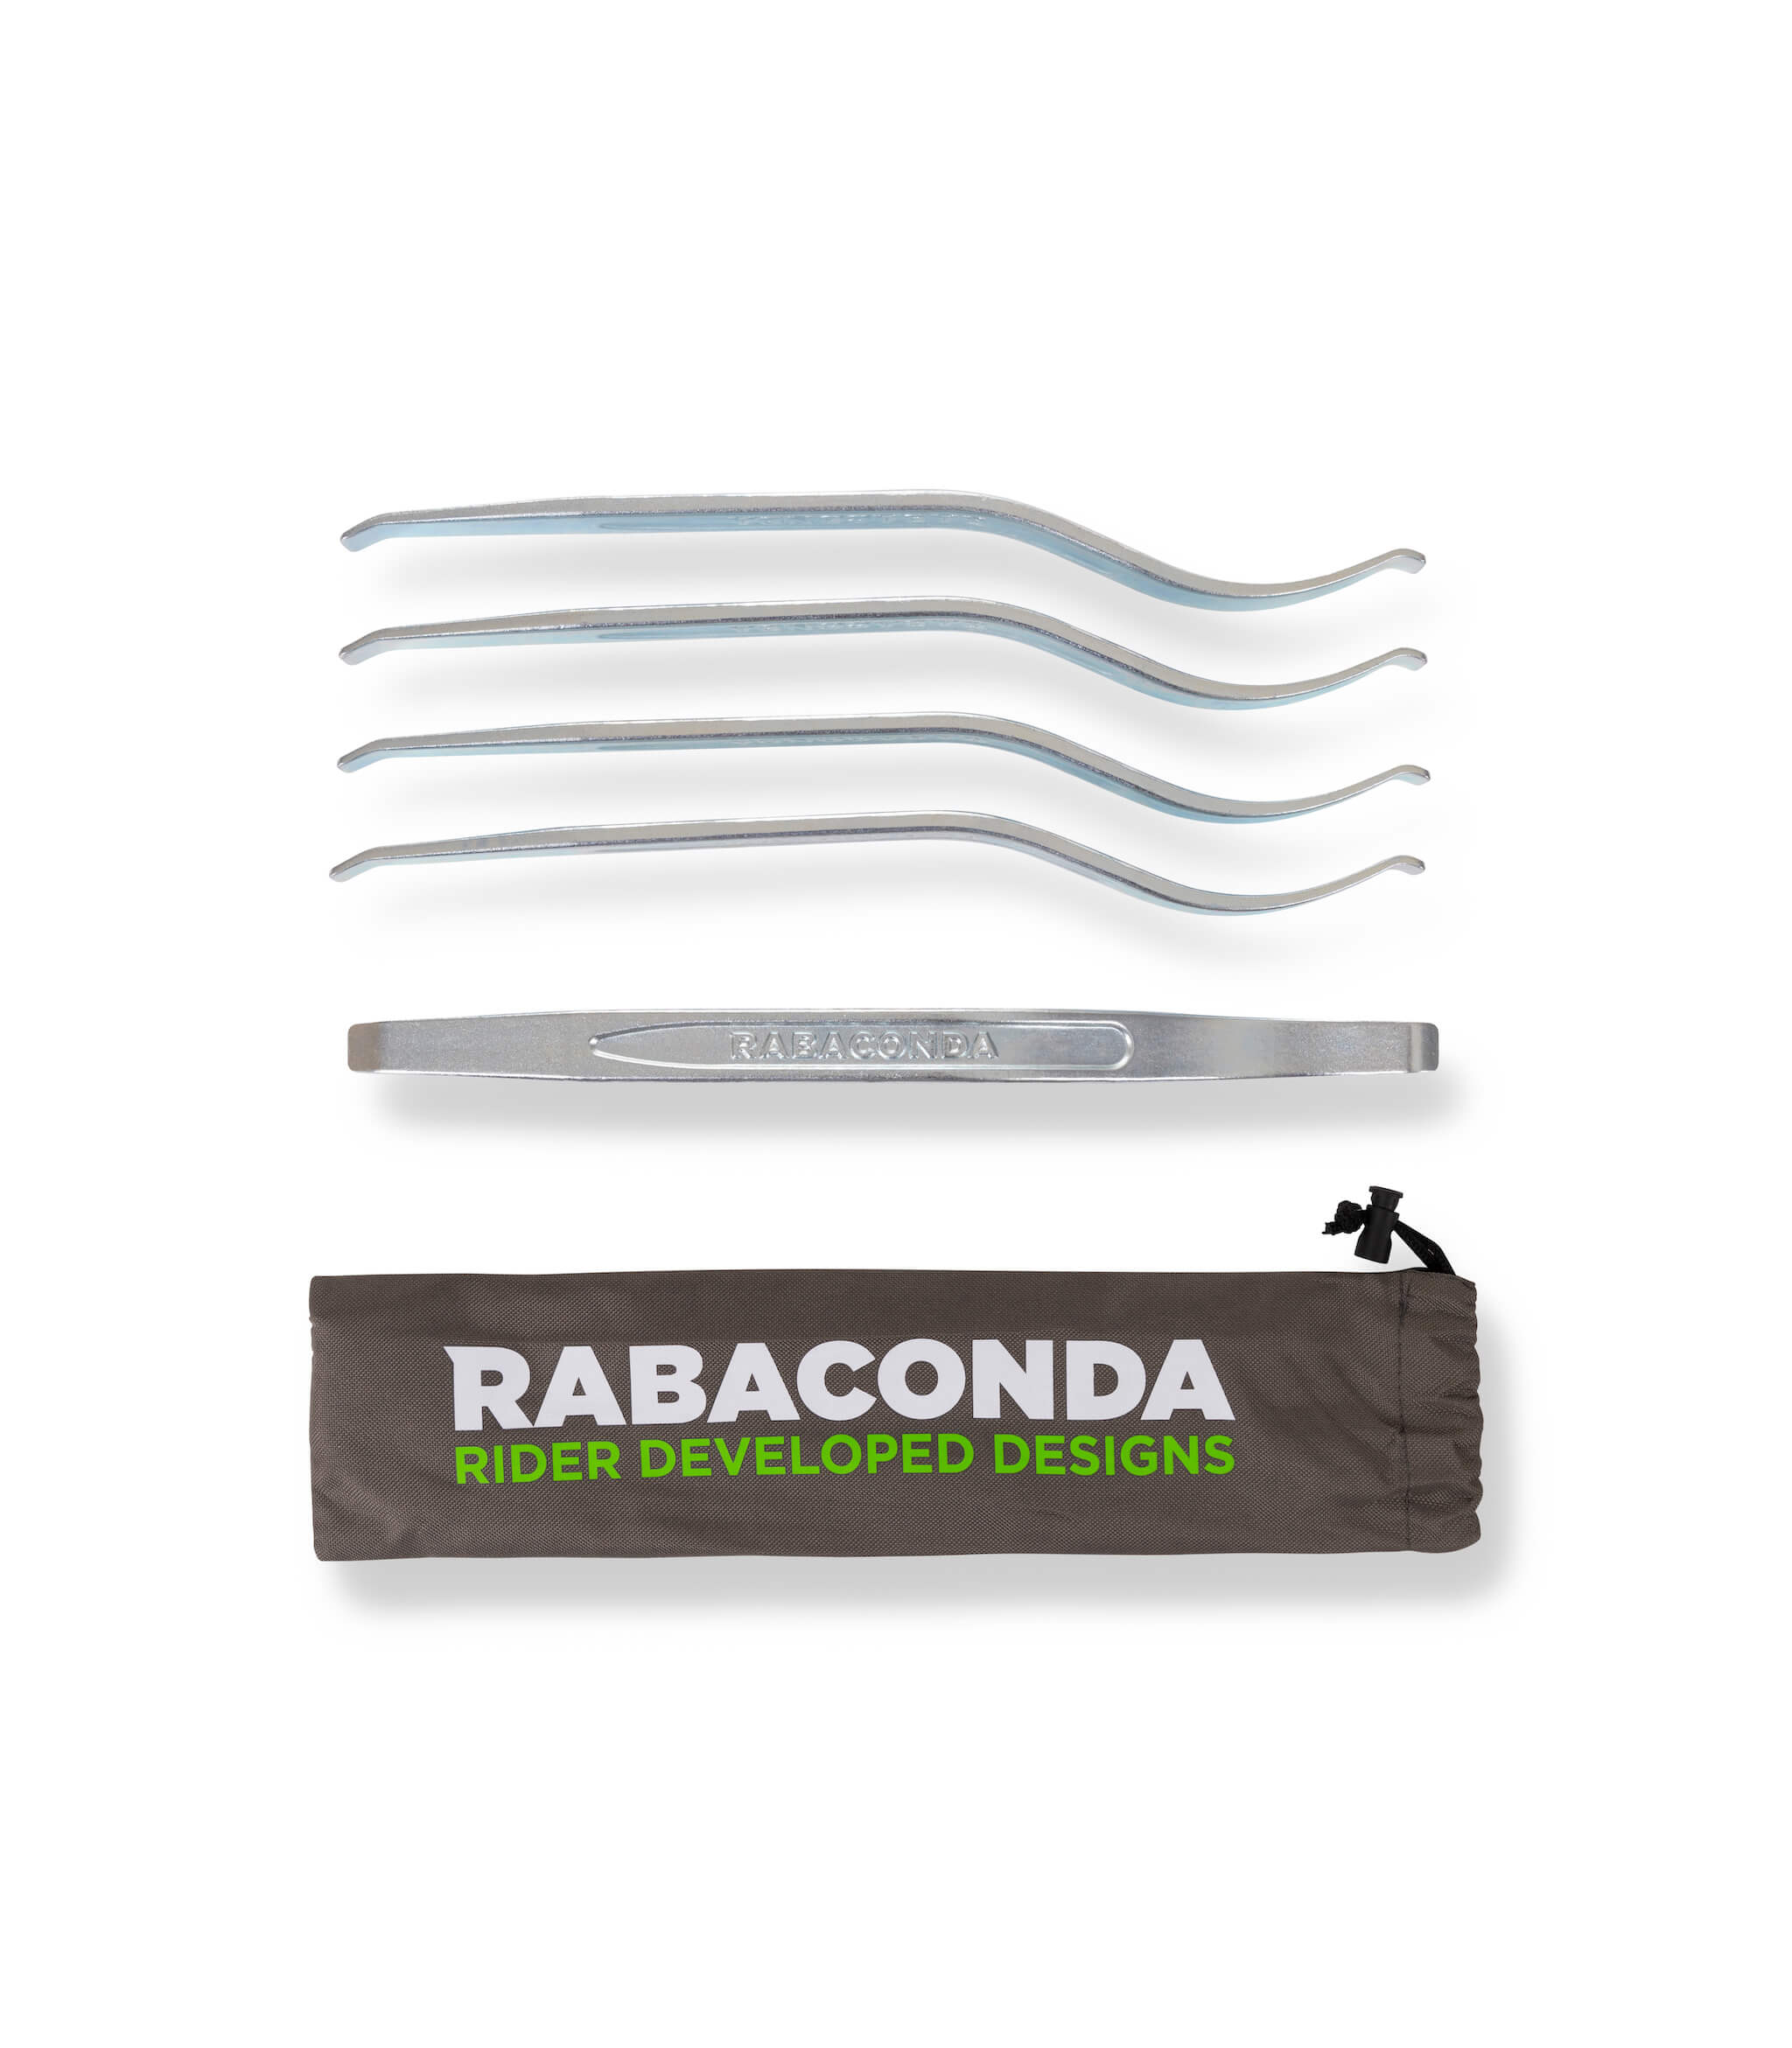
A good iron should be strong enough to resist bending, shaped for clean entry under the bead, and smooth enough to reduce drag while you mount. It should give you predictable control instead of slipping or climbing up the bead at the worst possible moment.
Length matters too. Longer irons can reduce effort, but only if the shape and feel are right. Too clumsy and you lose precision. Too small and everything gets harder. Cheap levers bend, short ones cost you leverage, a tip that's too thick makes it harder to get under the bead, and one that's too thin can flex.
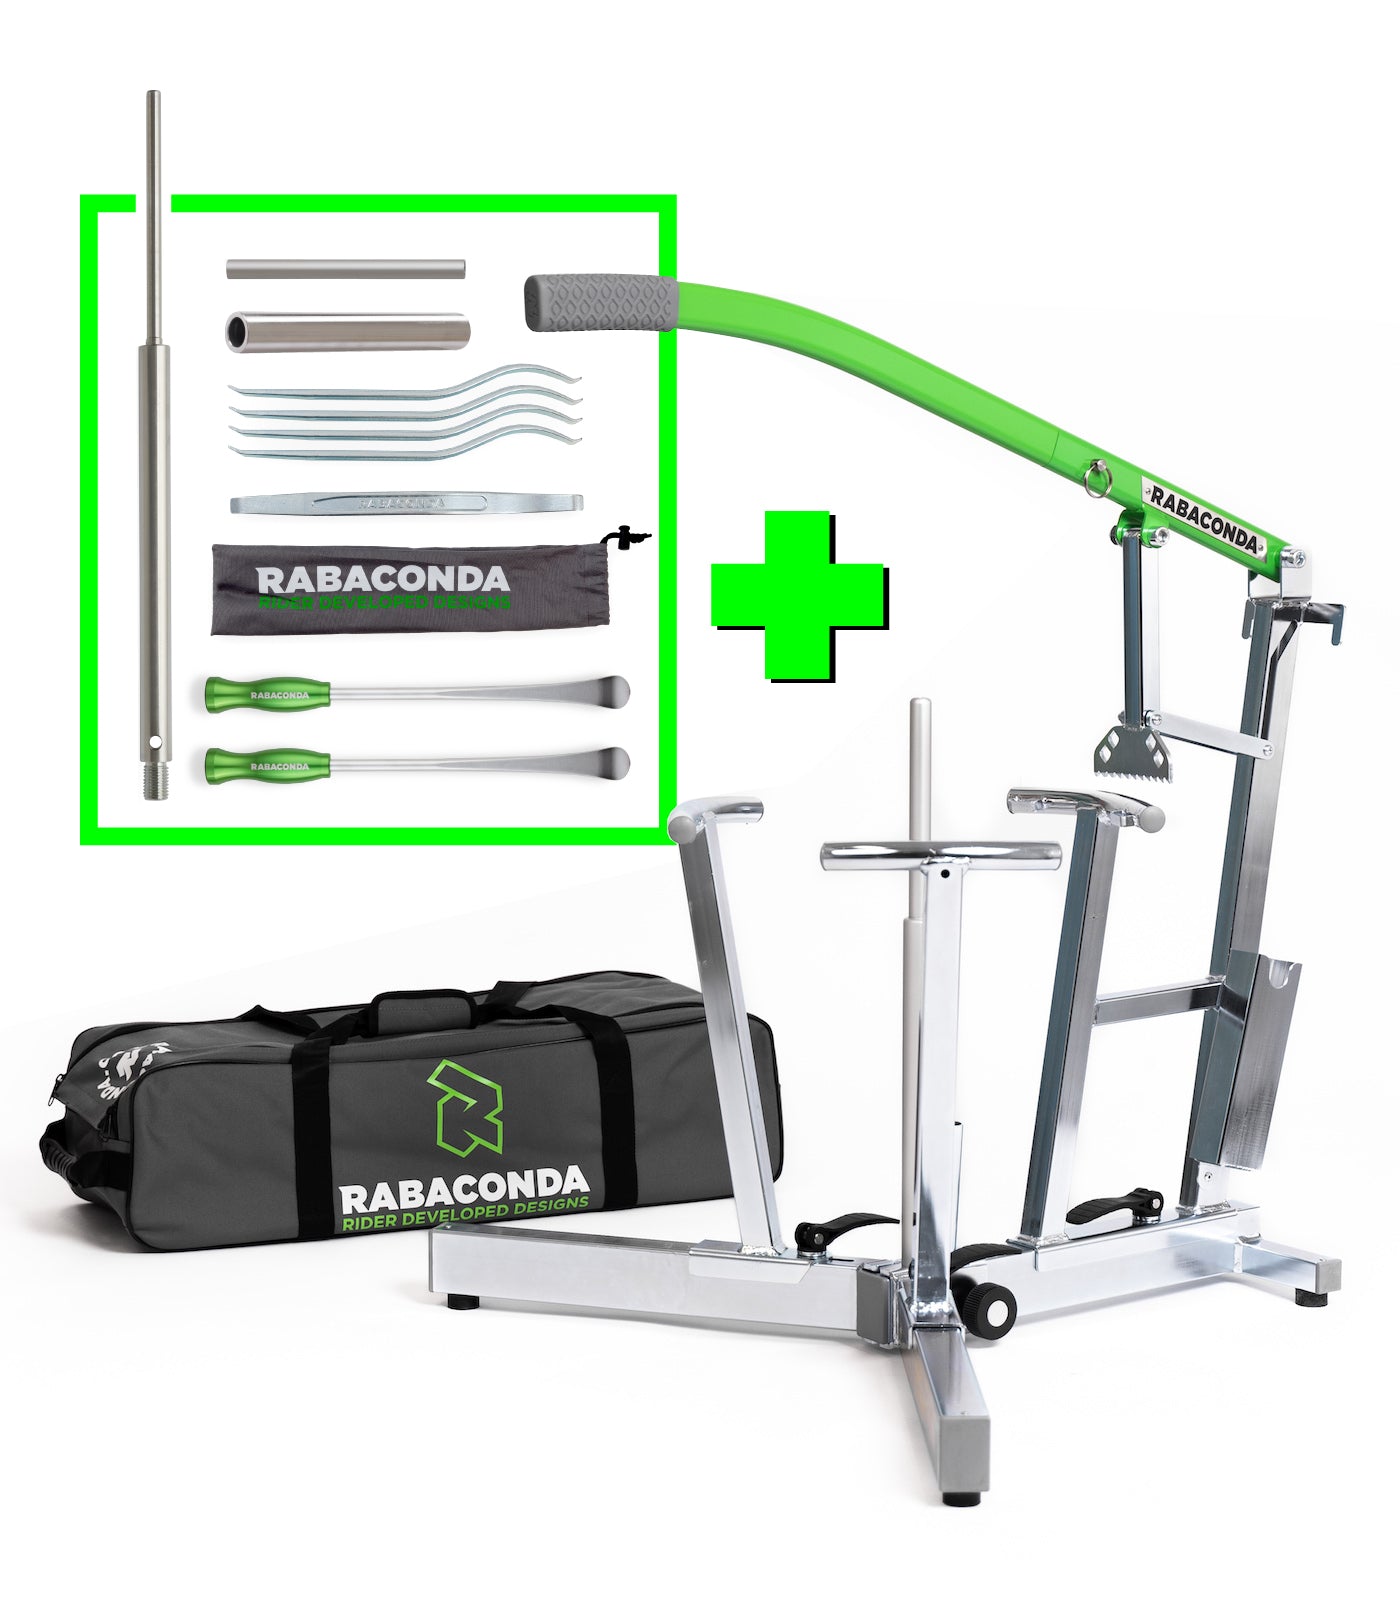
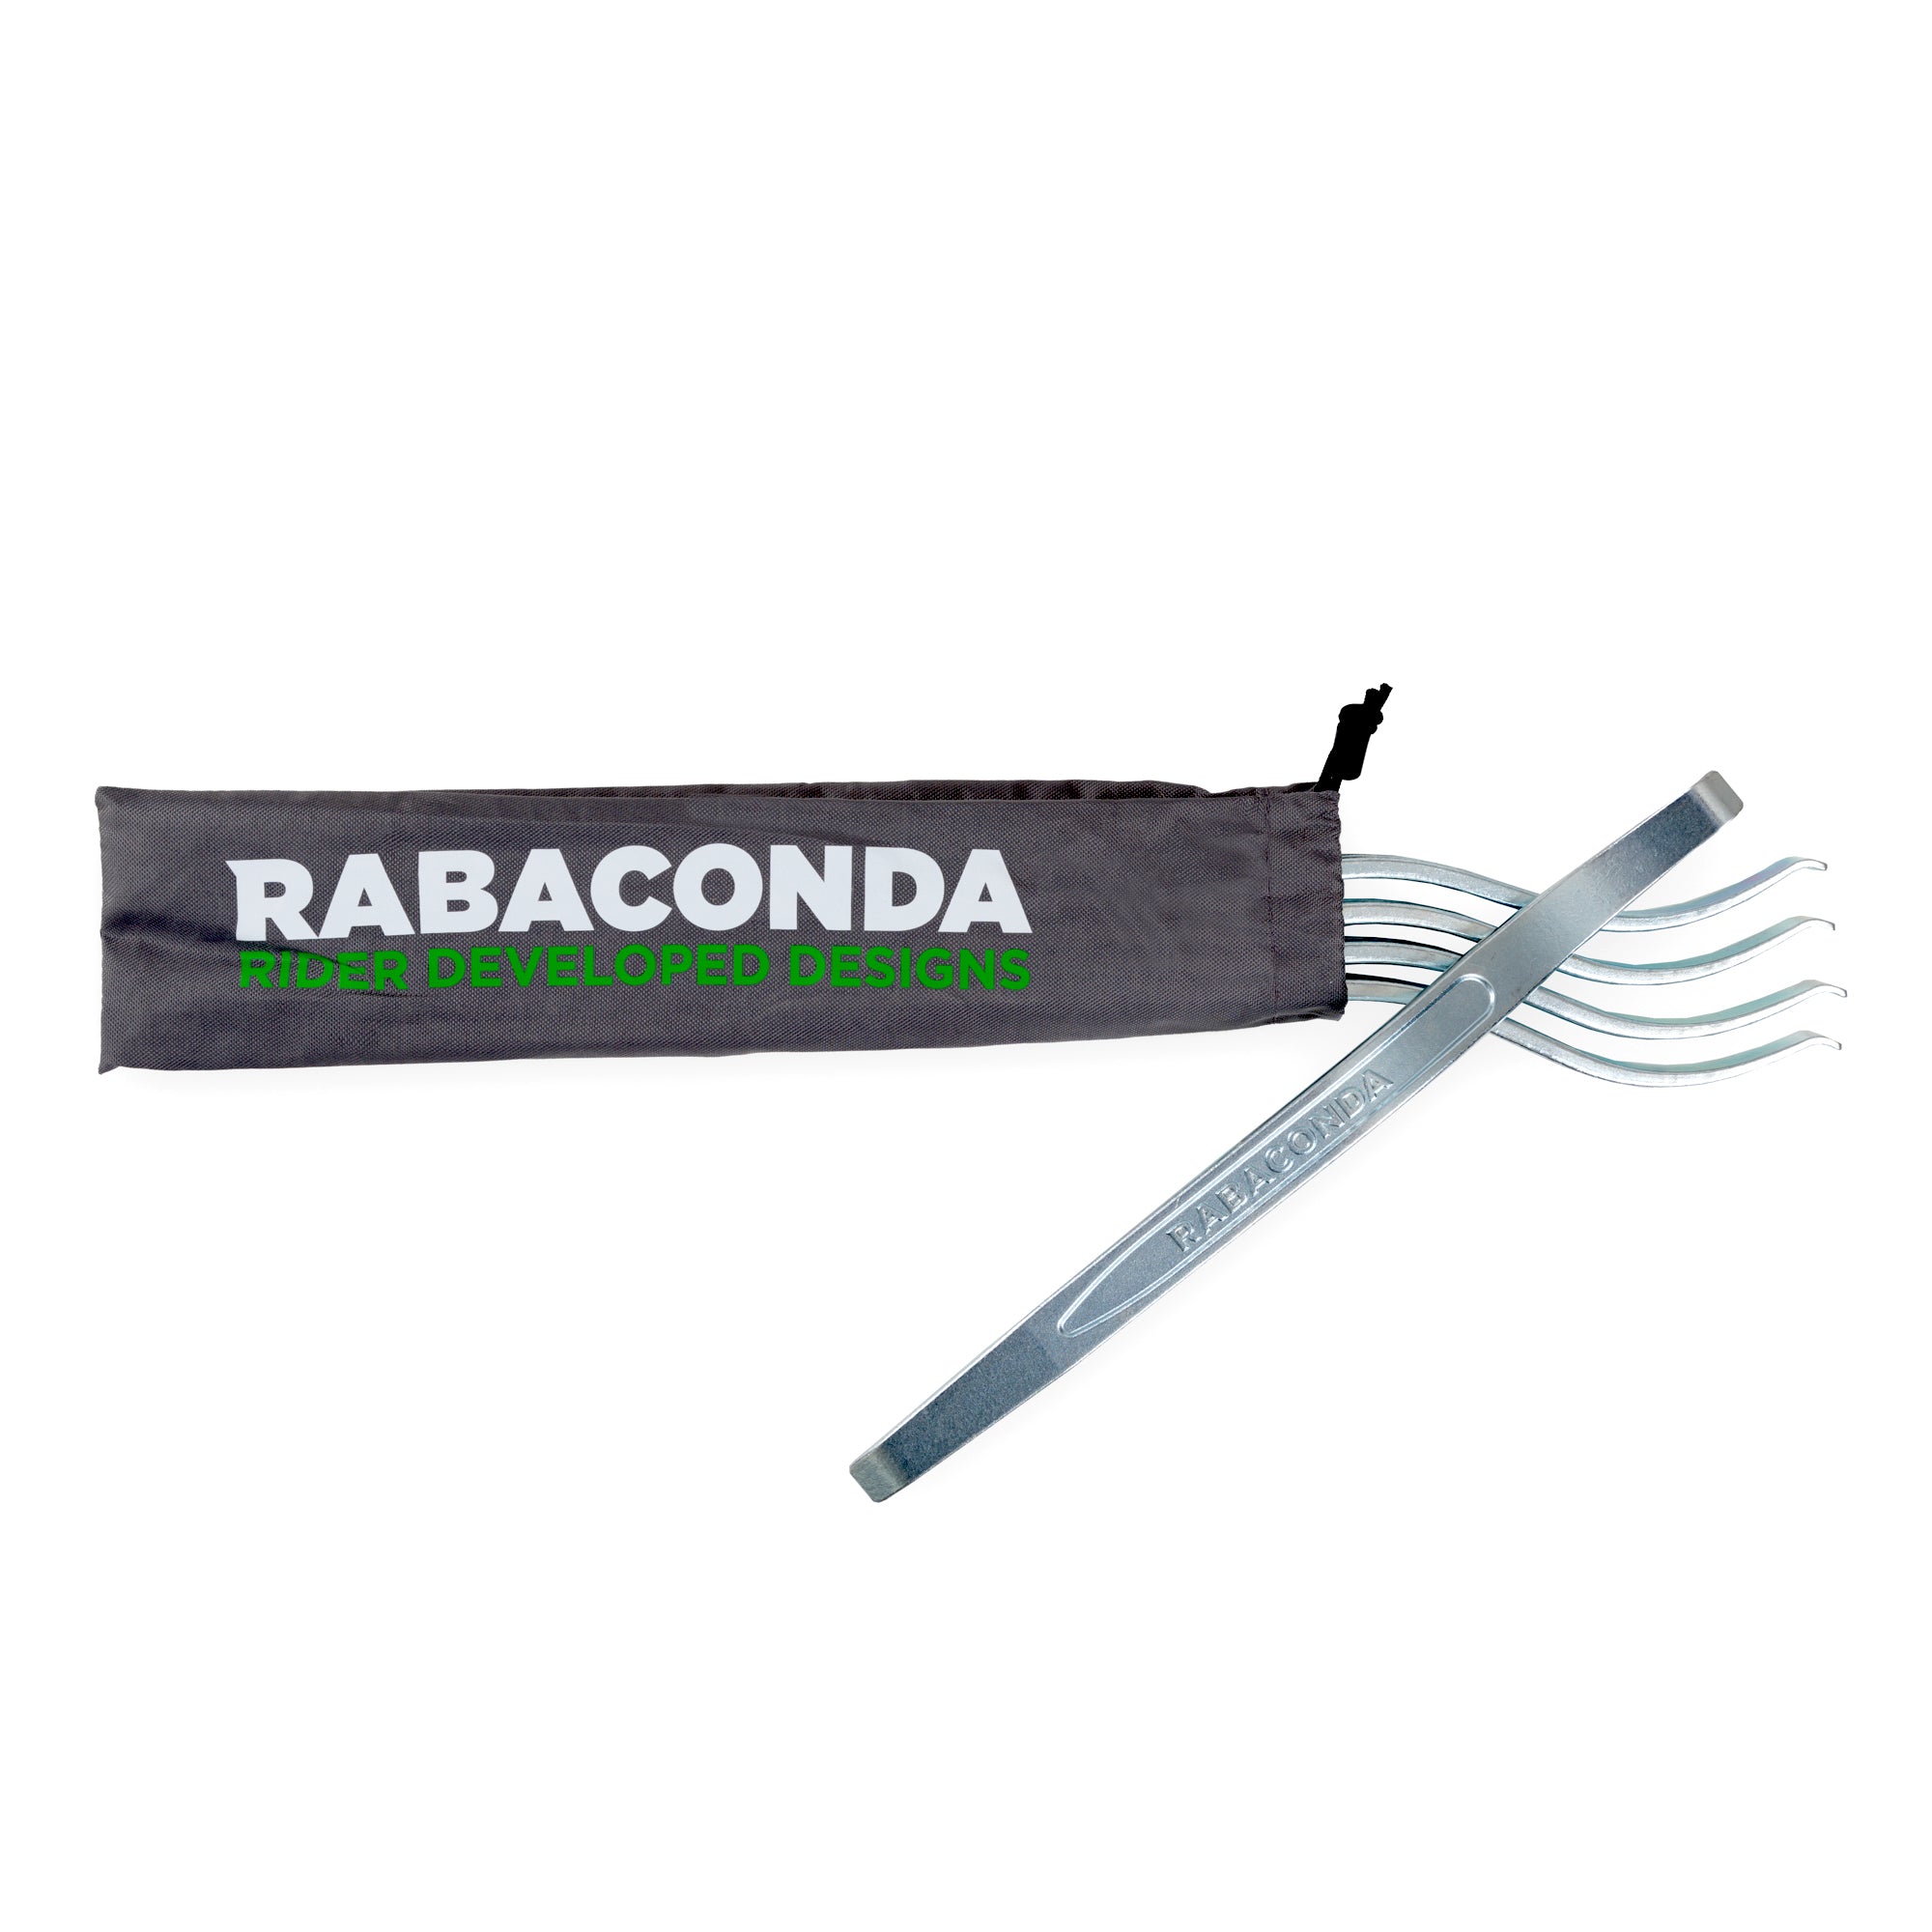
Rabaconda's Pro Tire Iron Set is built around the details riders notice mid-job. It includes five forged 380mm (about 15 inch) irons and a carry bag, each shaped for a specific step in the change so you're not improvising mid-mount. The tip dimensions are designed for easier insertion while keeping enough thickness to resist bending, and the smoother surface helps cut friction during mounting. It's built with the Rabaconda Dirt Bike Tire Changer in mind, and customers also report using it without a Rabaconda machine.

If you only do occasional street tire work, two or three irons may be enough. If you run dirt tires, mousses or just want more control, a proper set makes the job much easier. One customer called out the curve of the mounting end, the non-slip feel and how it helped keep the tire close to the rim instead of sliding up the spoon. That kind of detail is what riders actually feel when a tool is well designed.
Rabaconda also makes a few other irons for different jobs: a 16 inch iron designed for the Street Bike Tire Changer, a long 17 inch "Superior" iron for stiff tires and a short 10 inch iron for small wheels.
Not sure which fits your bike? See Which Rabaconda Tire Iron Is Best for You?
Here's the honest limit of working with irons alone: you're also the one holding the wheel steady, pinning the bead down and fighting gravity. That's a lot of jobs for two hands and a back that has opinions.
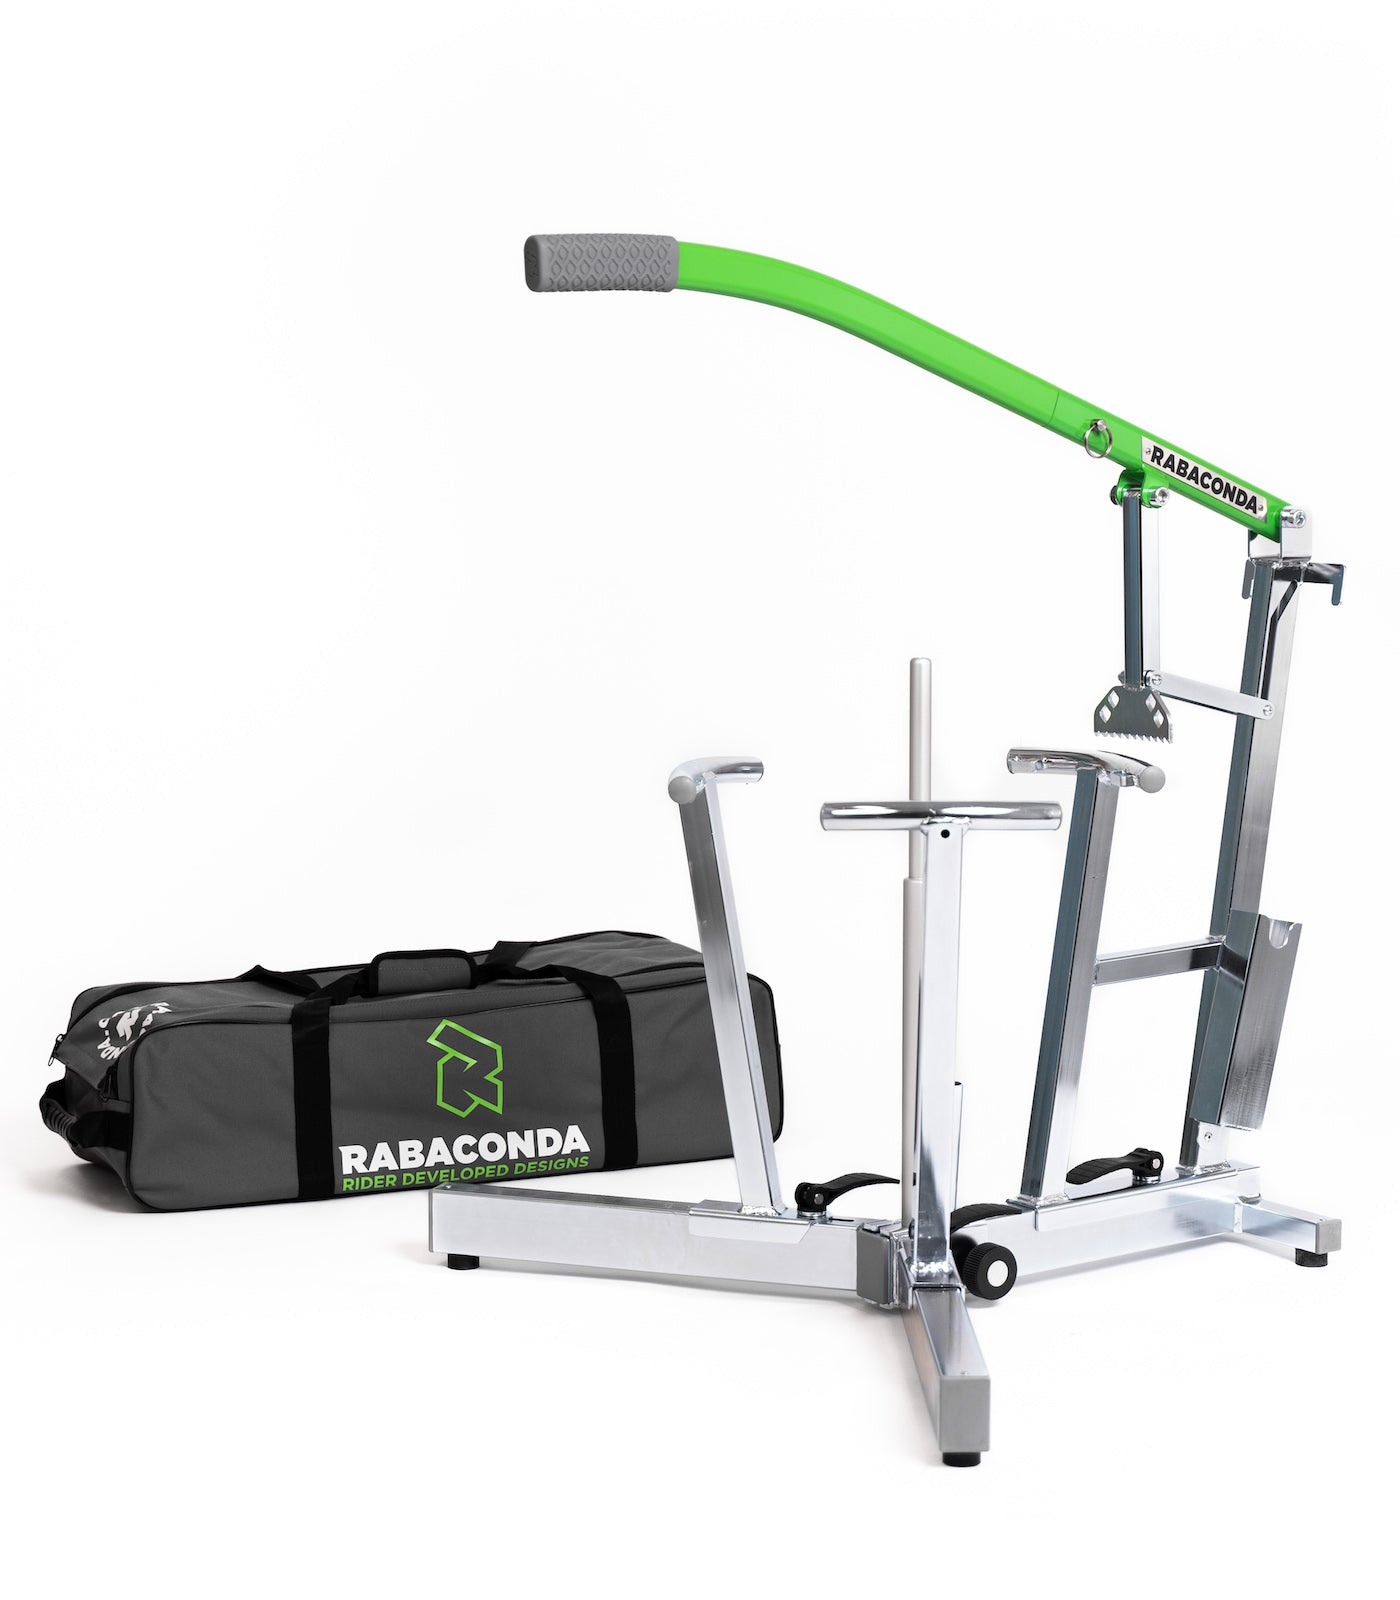
A tire changer takes over the holding so your irons can focus on the lifting. For dirt, dual sport and adventure riders with spoked wheels, the Rabaconda Dirt Bike Tire Changer is a manual, iron-driven tool with a bead breaker that pushes the tire off the rim, a stable base and a comfortable working height. It works with tubed, tubeless, mousse and Tubliss setups on 16 to 21 inch wheels and packs down into a carry bag. Pair it with the Pro Tire Iron Set and you've got the complete setup instead of a bucket and a prayer.
One important note: the Dirt Bike Tire Changer is built for wire-spoke wheels only. If your bike has cast wheels (most sportbikes, cruisers and many touring bikes), the Rabaconda Street Bike Tire Changer is the right tool instead, and it works with the 16" Street Bike Tire Iron.
Not sure which you need? Check your wheels: spokes point to the Dirt Bike Tire Changer, cast wheels point to the Street Bike Tire Changer.
For more on the rest of the kit, see Motorcycle Tire Changing Tools: What Actually Makes the Job Easier?
A motorcycle tire iron levers a tire's bead over the rim so you can remove an old tire and mount a new one. It's different from the L-shaped lug wrench people call a "tire iron" in a car.
Two or three can handle simple jobs. For dirt tires, mousse inserts or stiffer tires, a full set gives you more control and makes it easier to hold the bead in place while you work.
Keep the iron shallow, work in small bites, lube the bead and give the tube just enough air to hold its shape. Push the bead into the drop center opposite the irons for slack, and check around the whole tire for a pinched tube before you inflate.
Use rim savers, plastic protectors or tape on the iron's tip, and don't let bare metal drag across the rim.
A good iron combines strength, a well-shaped tip, a smooth surface finish and enough length to provide leverage without sacrificing control.
Yes. Poorly shaped or uncontrolled irons can increase the risk of scratches, slips and bead damage.
Yes. Tubeless tires still need the bead levered over the rim. You just don't have a tube to pinch. Rim protection still matters.
It's very doable, but it takes technique and patience, especially on stiff tires. The first change usually takes longer than you'd like, and you'll probably narrate the whole thing out loud to an audience of one. It gets easier every time.
A tire iron isn't a mystery tool. It's a lever, and tire changing is mostly about giving that lever slack to work with: bead down in the drop center, small bites, plenty of lube, rim protected. Get those right and your first tire change goes a lot smoother than the forums made it sound.
When you're changing tires regularly, the right irons and a tire changer take the hard parts off your plate, leaving more time for the good part: riding, and bragging about it.
Shop the Rabaconda Pro Tire Iron Set:
US, Canada & Mexico
Rest of the world
Shop the Rabaconda Dirt Bike Tire Changer:
US, Canada & Mexico
Rest of the world