


Rabaconda Rider Daniel Sanders [Q&A]
How did you get started in dirt bike riding?My father used to race dirt bikes in the 1980’s and I’ve alwayS just wanted to ride and race like him since a young age. What has...
The following story was sent to us by one of our wonderful clients in the US, who wanted to share his story about assembling the Rabaconda motorcycle tire changer.
***
Usually people buy stuff from shops or online, check the manuals and assemble their furniture, bikes etc. As I ordered the Rabaconda bib mousse motorcycle tire changer, a nifty and well thought-out tool from what I can gather from photos and videos, I decided to share my experience of assembling this cool machine.
The day finally arrived when my Rabaconda motorcycle tire changer was delivered in a brown delivery truck. As my garage is still in the process of being renovated, but the urge to see the tool in action being much too strong to resist, I decided to assemble it in my kitchen.

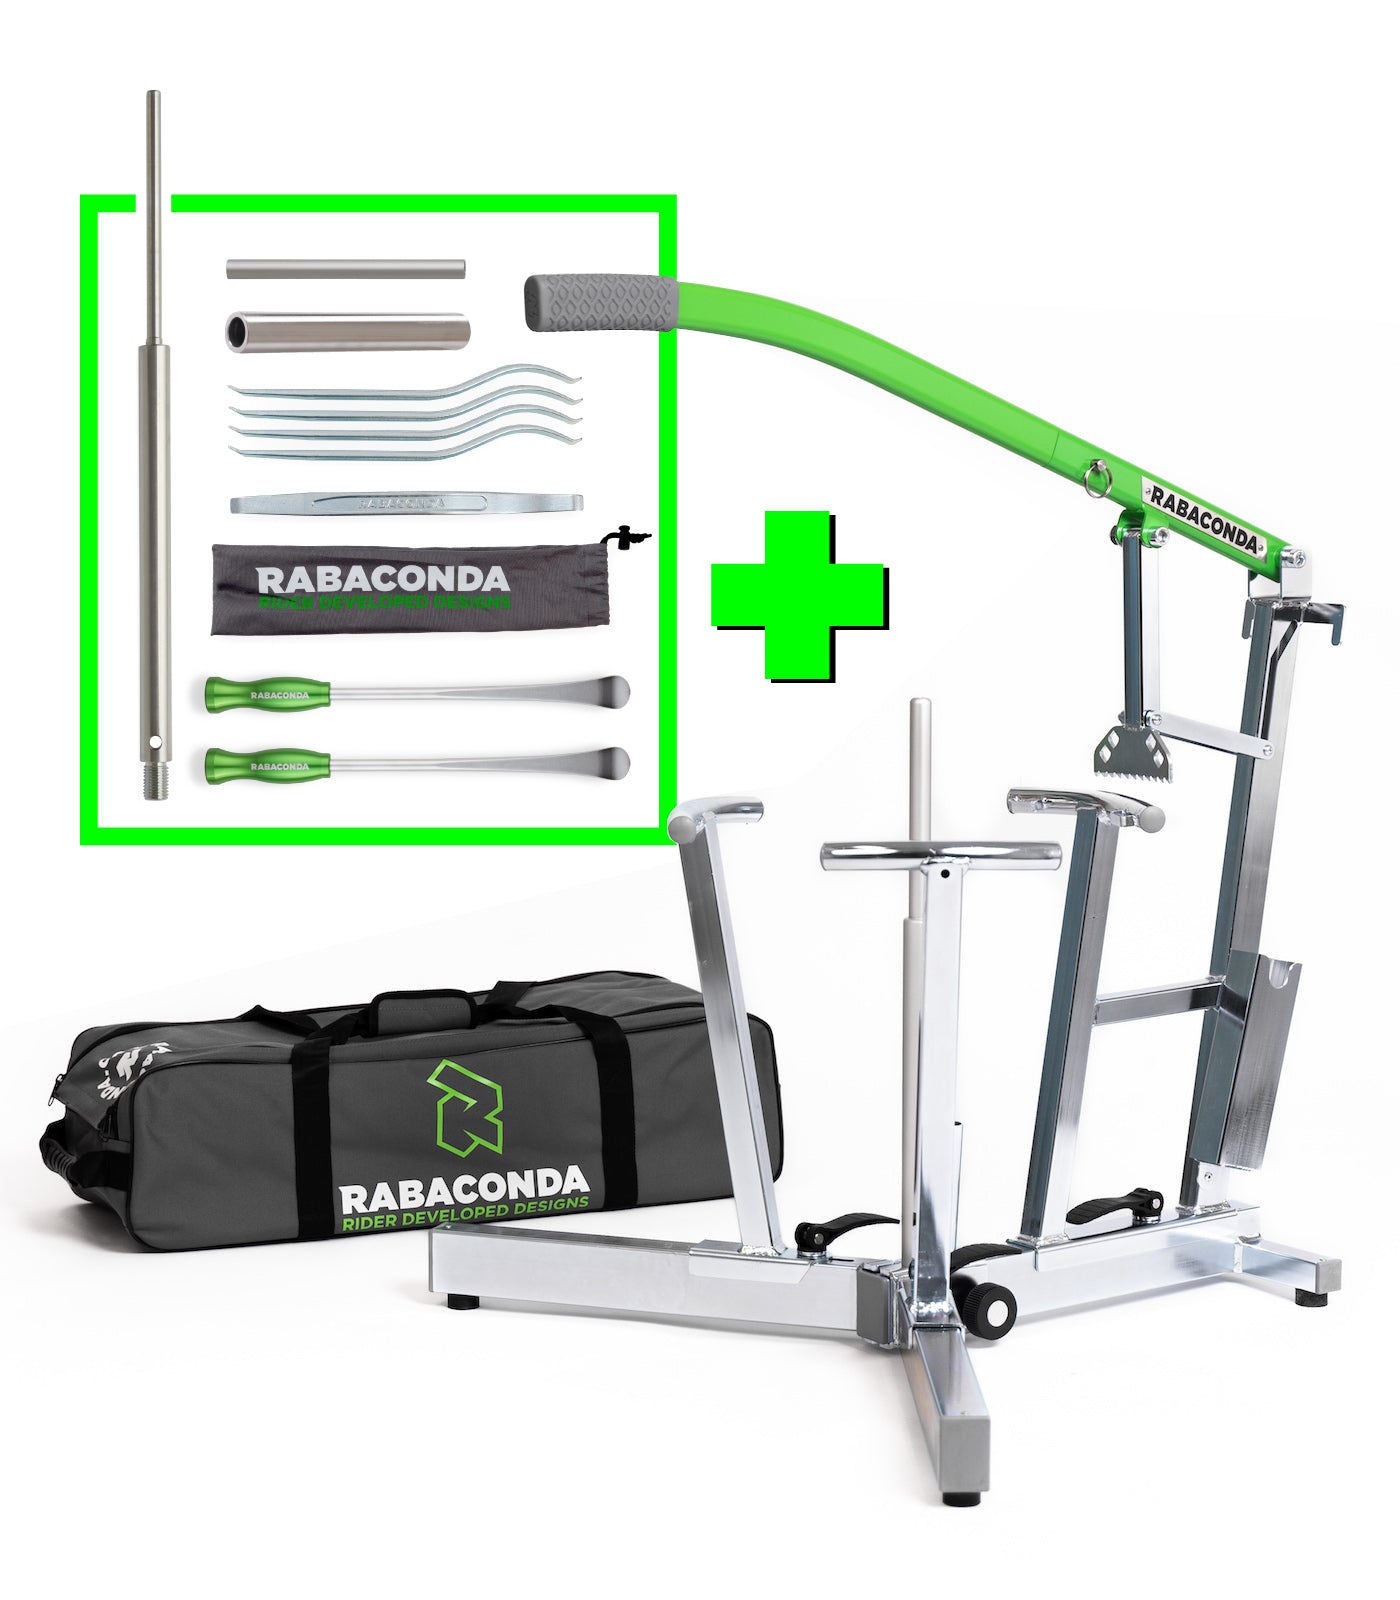
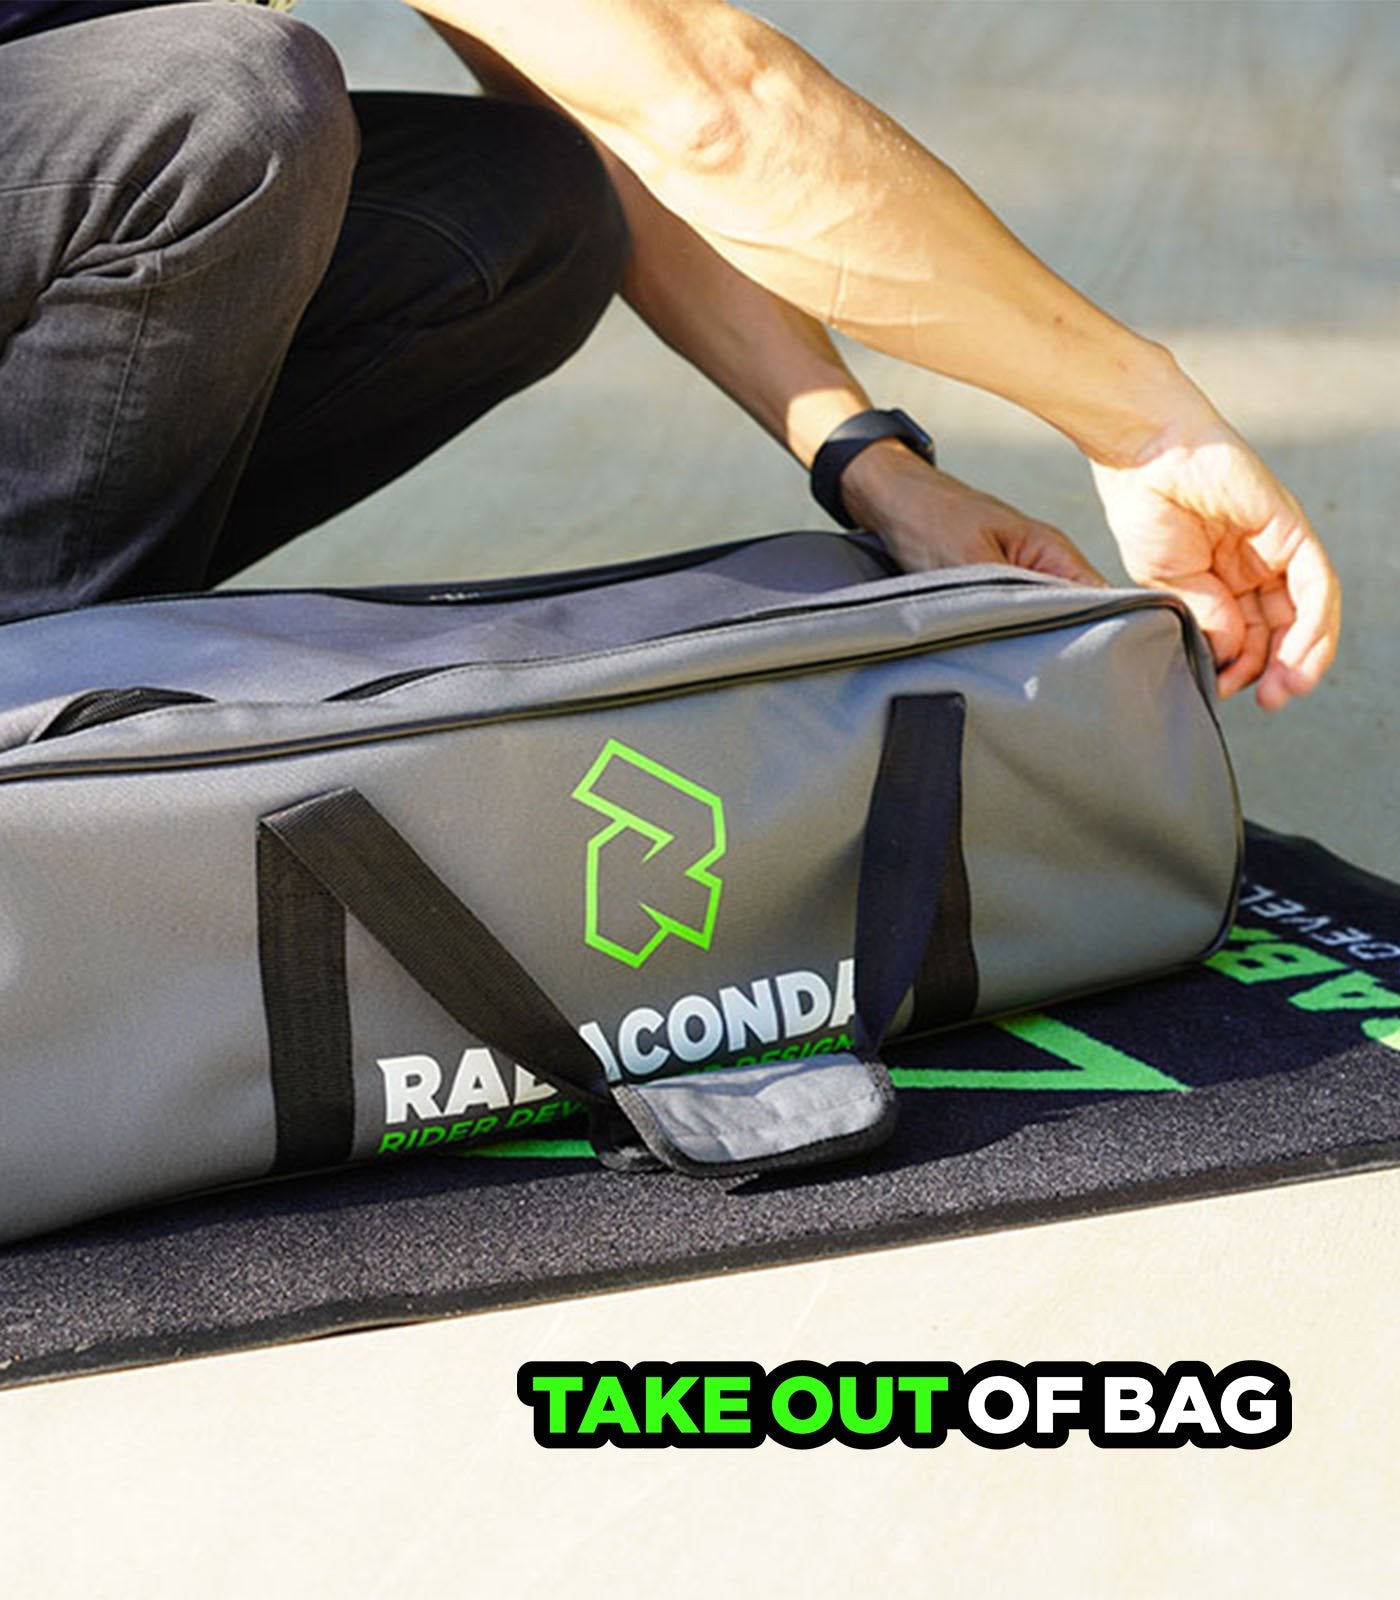
When I opened the box, the first thing I saw was a bag. Underneath it was the assembly manual, a small leaflet about mousse tires with care instructions, useful tips etc. as well as some nice stickers. The parts are very well packed, so they cannot get scratched during transport – unlike other deliveries that come from Asia and usually arrive damaged.
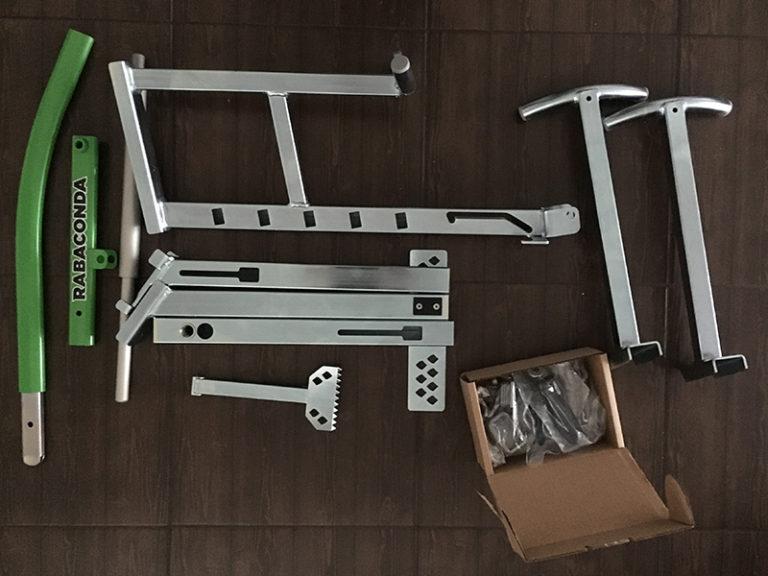
To get a better idea of what my next steps was to be, I laid all the different parts on the floor, quickly checked the assembly leaflet and I was set to go. One smart trick is to get all the necessary tools ready, so you won’t waste time assembling your tire changing stand.
In the leaflet, the first step is to connect the quick release bolts to the wheel supporters, but I decided to first fit the plastic caps (which are packed in a small cardboard box) to the feet of the changer simply to get those plastic bits out of my way! After that I connected the bolts to the feet. You should definitely follow Rabaconda people’s suggestion to open each bolt 1,5 turns after you have fully locked them. If it is not loose enough, the supports won’t go into the feet and if they are too loose, the supporters won’t be fitted strongly enough.

After the bolts were fitted, I connected the feet and then I attached the supporters to them so that they wouldn’t hinder my progress by laying on the floor. I then attached the bead breaker lever to it. And finally the kit was placed onto the special wheel supporter. As the feet and supporters were already assembled, fitting the rest of the kit was easy as it was already raised up high and therefore I didn’t need to kneel on the floor which is a real a pain for a former basketball player with weak knees. Ha-ha!

You are nearly there!
The final task was to fit the plastic (yes, in the same cardboard box) handle tube inserts and glue the grip sticker around the bead breaker handle. That was a bit tricky since the tape has 3 sections separated with small gaps and you want to glue it so that the gaps are horizontal but then you have an overlap of the tape and that doesn’t look right. With the gaps running vertically – no problems! One smart trick is to take a painters tape, wrap it around the grip sticker and leave it overnight. Then the grip sticker which is quite thick, can take the new shape without ripping the glue off the grip sticker.

And I was done! Easy, no sweat just under 20 minutes including a small trip to the garage to get my toolbox.

And now off to change some tires! But before that I’ll unlock the wheel supporters, then ponder how best to fit it all back in the heavy duty bag. It took a bit of time but was quite easy in the end. Like changing a dirt bike tire with this cool machine…

It used to take me 40 minutes to change a tire with bib mousse insert. And it often meant bloody knuckles and bruised eye from unexpected trajectories of flying tire levers. With a motorcycle tire changer it is sooo much easier. First, I don’t need a hammer anymore to get in the tire levers between rim and tire. With the tire changer you push down the bead with its long handle and can slip in the tire levers. Obviously the slim ends of Rabaconda tire levers help a lot compared to my old thicker ones. And the whole thing is so stable when working on it. Second, no need to struggle with the tire to get it completely off. With Rabaconda you simply dismount 10’’ to 15’’ inches from one side, then flip the whole wheel and then press the tire completely off (down) by just using the bead breaker handle. No levers needed. Another thing I like is the height. It is so much easier for my back to work on higher level, than on the ground. After practicing some 5-7 tire changes, it takes me now less than 3 minutes tire off – tire on.
Many of my friends said they can change a tire with 2 nail files and an empty bucket. Oh no, not with bib mousse! You need to apply lots of pressure when using bib mousse inserts just to get the tire levers in. Also flipping the wheel and pushing it off is so much easier. Other guys said they’ll have the tires changed in local workshop (for 35 bucks a pair). I definitely prefer to earn back the money with only 10 tire changes and save dozens of hours of driving time to workshop and back. I’d never use airtubes again while out riding my dirt bike, as carrying all the equipment to change an airtube is way too much for me and pinched tire is not an option either. And for mousses, Rabaconda makes changing so easy.
Ok, so why I choose namely Rabaconda? I’m an analytical buyer (geek, if you wish) and did quite some analysis before deciding. While also a lazy decision maker, I decided to go for one single indicator – which one is actually really used by top riders. After studying Rabaconda site and some competing websites, reading some blogs, Instagram and Facebook feeds of top riders and factory teams, there was actually only one tire changer that stuck out – Rabaconda. I saw it used by whole AMA US ISDE both pros (like Taylor Robert, Kailub Russell, Thad Duvall, Cody Webb, Zach Osborne, Mike Brown), as well as by amateurs. And funniest of all is that it is used be even by girls. They have videos on their website of totally effortless change with Rachel Guttish, Laia Sanz and others.
Even though its price tag loudly communicates it is a premium product, it is money well spent. First, the quality of materials, fittings and finishing is impeccable compared to some Chinese made tire changers I’ve seen. I’d rather pay few bucks more for a premium product than. It has a very simple construction, but yet so efficient. I guess that’s why it’s used by all these pros. It makes a rather unpleasant task in dirt biking – changing tire – one of the most enjoyable. Yes, it sounds crazy (washing air filters took over the nr 1 spot of unpleasant tasks). And after I’m done, the whole tire changer dismounts into a nice carry bag to store on a garage shelve. Neat!
![Rabaconda Rider Daniel Sanders [Q&A]](http://us.rabaconda.com/cdn/shop/articles/daniel-sanders-1-768x512_d264f3b0-27d9-4dd3-bd67-3557ab620c32.jpg?crop=center&height=460&v=1694443782&width=768)
