


Rabaconda Rider Graham Jarvis [Q&A]
Graham Jarvis started to forge his riding career at the age of 10 when he won his first Trial. Today, he’s a top rider in Extreme Enduro. Need proof? He’s a 5x British Trials Champion, 4x...
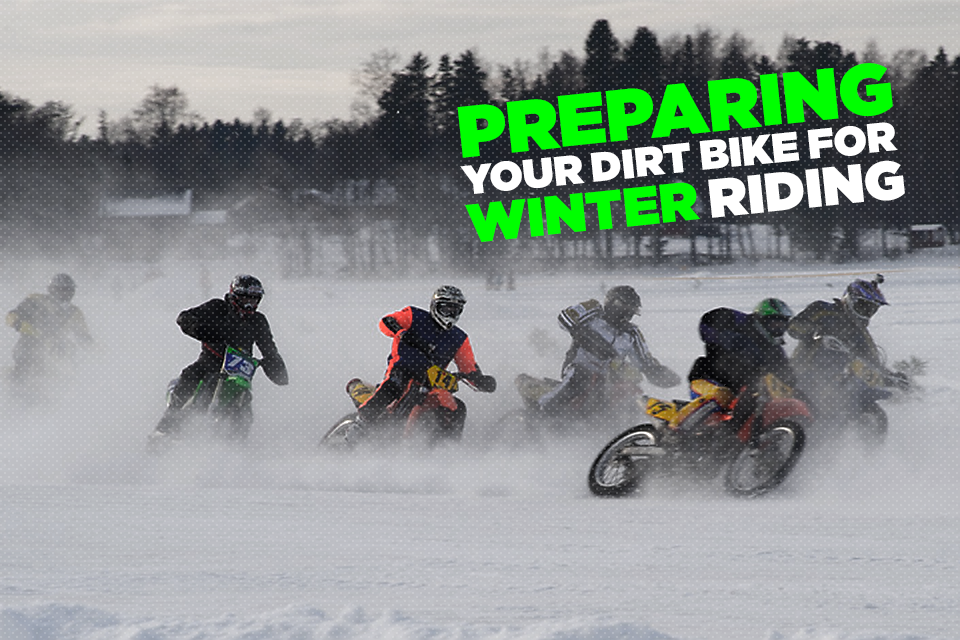
Depending on where you call home, winter might mean nothing more than a short-lived and light covering of snow and ice, or you could be looking forward to months of sub-zero temperatures and a picture-perfect winter wonderland. Of course, the local climate will influence exactly how much you need to do to prepare your dirt bike for
but with a little forethought there is no reason to consign your bike to the garage for the winter.
Dirt bike riders all over the world will be hitting the trails this winter to test their skills against the season and experience the thrill of a midwinter ride. Why don’t you join them?
If you’re new to winter riding, here’s how to get your bike (and yourself) ready to hit the snowy trails.
Get Your Tyres Ready For Winter
If the ground is not frozen yet and there is only a soft snow covering it, you might be good to ride with sharp-edged sand tyres. If there is ice or the snow freezes solid, you are going to need more to keep you from spinning out in the slick winter conditions.
Specific studded tyres are best, especially if you’re going to be riding in extreme snow and ice conditions for any length of time. Get carbide tipped if you can. They’re an investment, but they last, and if they mean you can ride safe and extend your season, they might be worth shelling out for. And if you do use studded tyres, always run a tether cord!
Otherwise use ice screws, which can be picked up in different lengths to suit your tyres and screw into the knobby parts of the tyre for added grip on ice and snow. Some riders use regular screws from a DIY store, but these can be trickier to keep fixed in. And if you miscalculate the lengths, they can puncture your inner tube. Not a problem if you’re riding with a mousse, naturally.
Although riding on studs can feel a little sketchy on frozen ground, for ice or snow there’s really no other option.
Protect Your Hands
Freezing metal and biting cold can make your ride miserable — and compromise safety if the cold causes you to lose your grip. At the very least, you will need appropriate gloves, which should be light enough on the palm to allow you to grip well, but thick enough on the back of the hand to insulate against the weather.
MOOSE Mud Paws are insulated ‘bags’ that fit over both your hands and the ends of the handlebar, and can be a great choice in colder climates. They are inexpensive, easily mounted and can be used with gloves under if you need extra insulation. Depending on the severity of the climate, some riders also use electrical grip heaters under their regular grips.
You should also cover your clutch and brake levers to keep you from having to touch freezing metal. Cloth athletic tape, insulating shrink tubing designed for electrical cables, or even simple electrical tape works well for this. In the spring you can simply peel or cut it off (although using shrink tubing is your best option if you’re not keen on removing tape residue).
Rejet Your Carb
The cold, dense winter air can cause your bike to run leaner than you’d like. To prevent this from happening, replace the jets, and jet needle if needed, in your carburetor. This is especially important on 2-strokes and on older bikes. Richen up the air-fuel mixture to compensate for the cold and make sure you maintain overall power in your ride.
Checks While You Ride
Getting your bike ready for winter is one thing, but you also need to make some simple regular checks while you’re out riding to stay safe. Check your air box for snow, which might get pulled through and eventually can cause the filter to freeze.
Make sure your coolant has antifreeze properties and keep an eye on the levels. Switch out the fluid for one specific for winter use. If you’re leaving your bike out overnight or while you stop during a day riding, be careful that snow build up doesn’t melt and then re-freeze on your bike. This can cause everything to seize up and will put an early end to your winter ride! You can help yourself and protect your carburetor from snow buildup by using a roost deflector (or make your own and use zip ties to fix it in place).
Choose The Right Winter Gear
There’s no such thing as bad weather, just bad clothes — and fixing up your bike for winter riding won’t help you if your first trip out is ruined by creeping coldness. Exactly what winter riding gear you need will depend on the severity of the weather in your area, but starting with the following ideas should mean you’re not caught out by the cold.
Choose a set of cold-weather pants and jacket designed for riding. Anti-fog or dual-pane goggles can help you deal with fogging, which can be especially problematic in the cold.
Aside from grip warmers or thicker gloves, you might also want a balaclava, depending on how the design of your helmet allows airflow around your head. Fleece-lined socks, ideally with a waterproof outer casing, are ideal to keep your feet warm and dry, and in the harshest of climates you might need thermal gear. In general though, if you’re a little chilly before you start to ride, you will find the physical exertion of riding will mean you’re quickly warmed up — just keep your extremities well covered!
Last but not least – warm up before you go! Good warm up routine is crucial when you ride in cold conditions. Accelerate your blood flow with exercises to prevent cold wind slowing it down. Make sure you peripherial body parts are properly warmed up. Many riders are anxious to get on the bike and skip warm-up, but best not to do it in winter time.
If winter riding is not for you, sign up for our newsletter and keep an eye out for our article on how to prepare your bike for winter storage.
Are you looking forward to hitting the winter trails, or will you call it a season and wait for spring?
![Rabaconda Rider Graham Jarvis [Q&A]](http://us.rabaconda.com/cdn/shop/articles/blog-graham-jarvis-768x480_9f156827-b4cf-4bc2-92dc-c583c7a2131d.png?crop=center&height=460&v=1694443725&width=768)
