How To Change a Harley Davidson Tire: Step-By-Step With Rabaconda Street
By Jakob Saks
The process of changing a motorcycle tire can be a hassle. Hard sidewall tires, stiff tires and spoked wheels - these are the keywords for a headache for many. However, it doesn’t have to be this way: Using the right tools, you can change any tire on any motorcycle, regardless of how stubborn the tire may be.
In the post and video tutorial below, we’re sharing our experience and tips on how to change a rear tire on a Harley-Davidson Electra Glide. Step by step, we break the process down into easy parts, and before you know it, your bike’s got new shoes.
Tire-Changing Tools for a Cruiser Motorcycle
Changing a tire on a cruiser, tourer or any V-twin motorcycle is no easy job if you’ve only got a pair of tire irons. Another option is to simply bring your bike to a dealership and have the tires changed there – it’s easy, but it’s time-consuming and usually, not cheap.
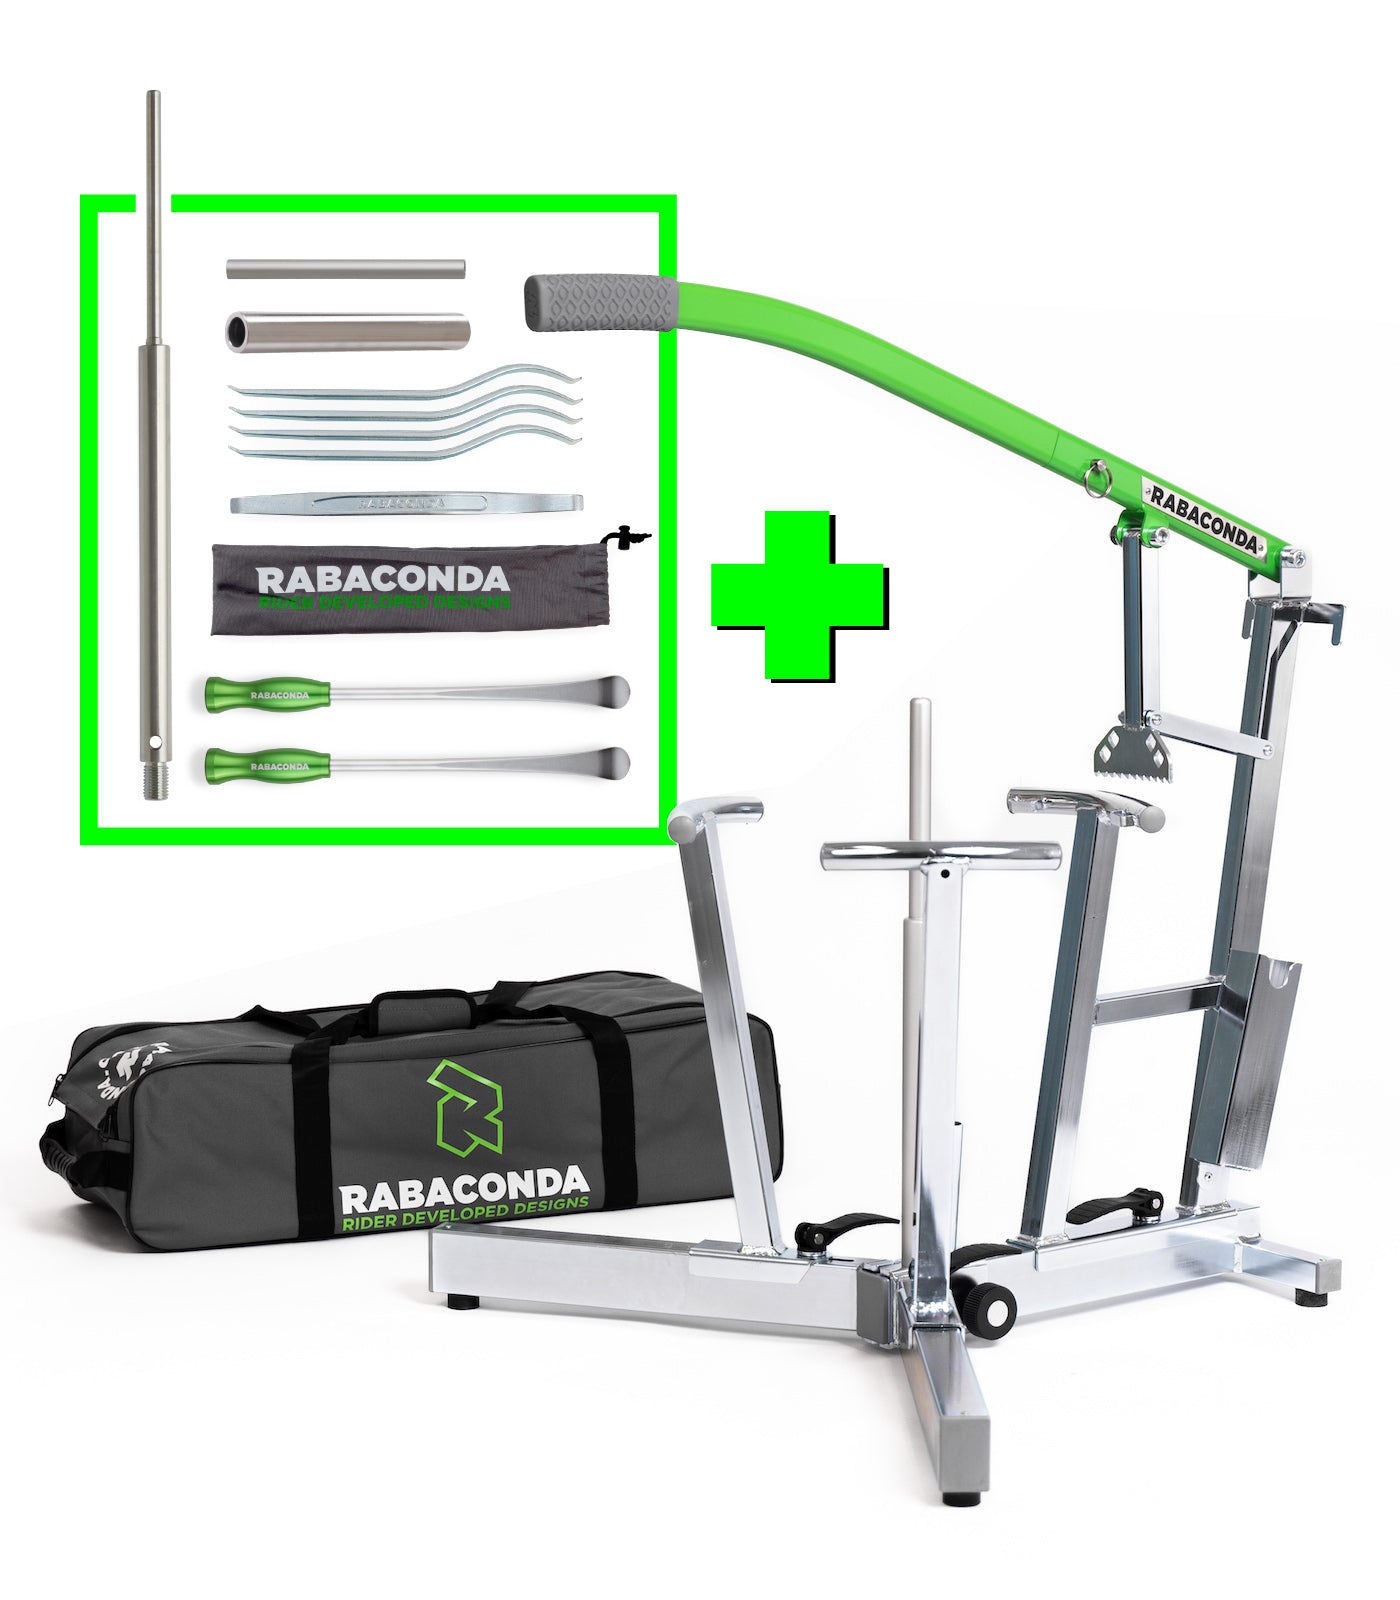
Then, you have tire-changing tools like the Rabaconda Street Bike Tire Changer aimed specifically at cruiser and touring bike riders. Being the best motorcycle tire changer on the market, the Street Bike Tire Changer works with a wide range of motorcycle brands: from Harley-Davidson to just about any V-twin, touring or cruiser motorcycle with stiff sidewall or hard tires and wheels with both cast and spoked rims.
Technique and Tips on How to Change a Rear Tire on a Harley-Davidson Cruiser
In the video below, we’re testing how to change a rear tire on a Harley-Davidson with Rabaconda.
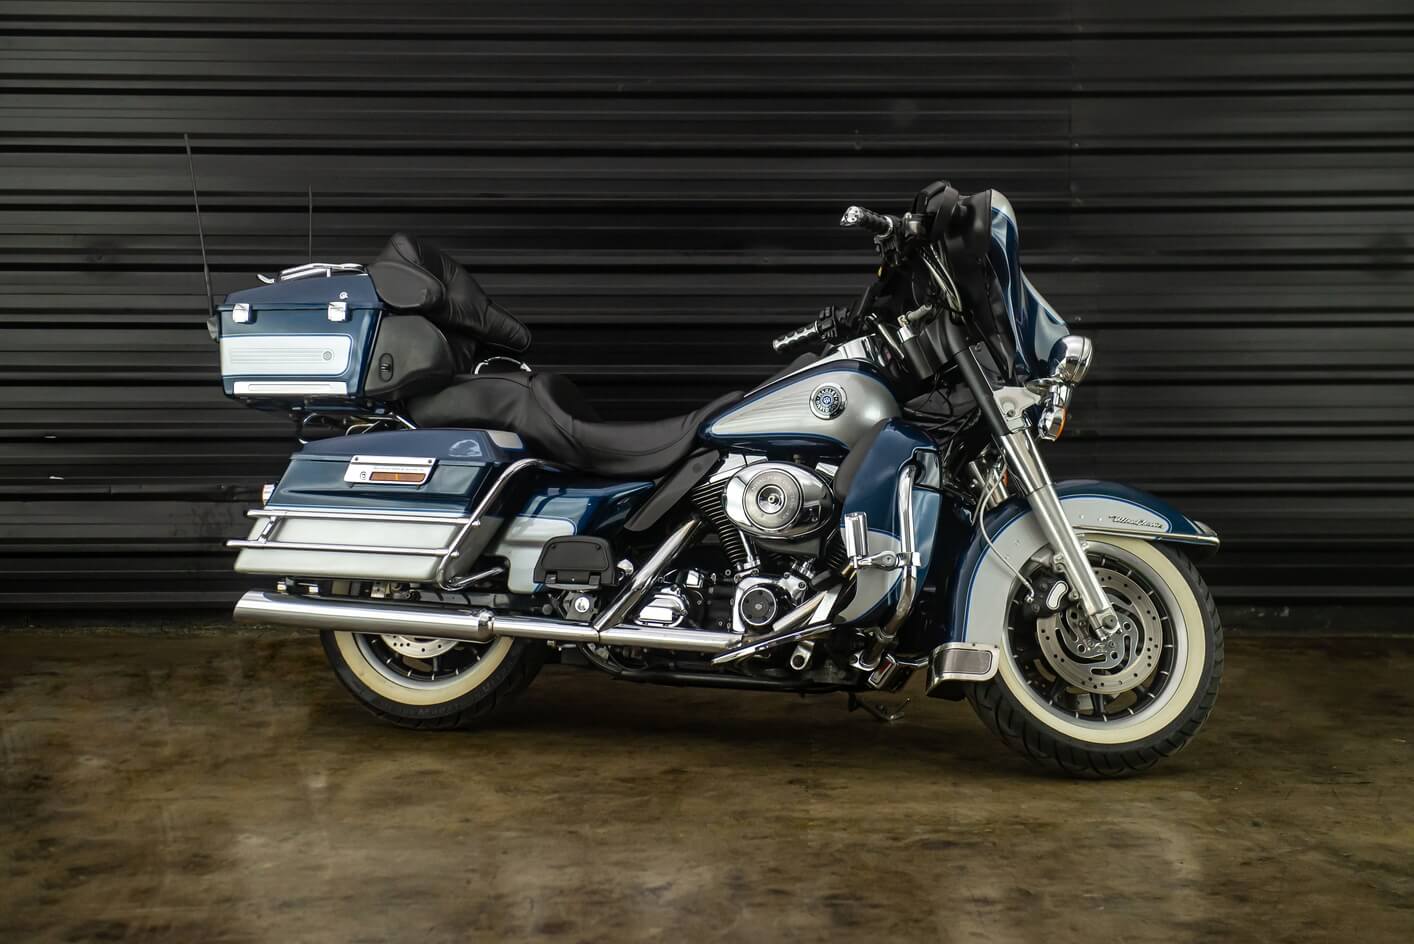
We’ve chosen a Harley-Davidson Electra Glide with a well-worn white wall Dunlop D402; even the HD dealers admit it’s a tough job, but we’re confident we can get it done.
First off, we’re going to break the bead. This tire is probably one of the hardest we’ve ever done: It has 12,000 miles on it, and it’s as stiff as they come.
Before you start working, don’t forget to deflate the tire. Then, using the bead breaker, slowly break the bead. It’s not as difficult as we expected, but you do need to lean into it.
Next, we dismount the tire. Always use plenty of soapy water when dismounting to minimize friction before you begin! Now, all that’s left is removing the tire off the rim using the duck head system. Instead of a pin-wheel stopper, we’re using a strap to make sure the wheel doesn’t rotate (This also works for wire-spoked wheels).
The tire comes off easily enough, but what about mounting? Mounting a brand new D402 – one of the most beloved touring tires – is no small task, and it’s crucial to grease the bead well to make the job easier. Before you start mounting, make sure to warm up the tire. It makes all the difference with stiff sidewall tires. Also see that the direction of the tire is correct, and the yellow dot on the tire marks where the valve stem should go.
Using the duck head, we pop the tire on the wheel – it’s impossible to do it by hand. Grease the duck head a little more for smoother mounting and, using the drop center tool, mount the tire.
Frankly, changing a rear tire on a Harley-Davidson is much easier than we expected: The Dunlops are stiff, true, but warming up the tire and using the proper tools, the job is done within minutes.
This motorcycle tire change took just 10 minutes, but we’re confident you can probably get it done faster once you’ve got the hang of it.
Now, what about balancing the wheel?
The Rabaconda Wheel Balancer will do since most track day and MotoGP mechanics use one like ours, and it takes a few minutes per wheel to balance. Other handy solutions include our balancing beads.
Harley-Davidson Tire Changing Costs
A motorcycle tire change can cost anywhere between $50-80 per tire depending on your location, the make and model of your bike and your nearest dealer. The price goes down a little if you take the wheels off yourself and bring it to the shop; otherwise, expect to pay the full costs, and those do not include new tires. For more detailed information, see our post on how much it costs to change motorcycle tires.
Being DYI fans ourselves, we recommend riders start changing their own tires. First off, changing your own tires costs nothing except your time, which means you’ll save tons of cash in the long-run, more so if you own several bikes. But perhaps more importantly, changing your own tires means…freedom. You don’t need to book appointments or travel to dealerships anymore: You simply swap the rubber whenever you need to.
Whether it’s a cruiser motorcycle, a tourer bike any model of a Harley-Davidson or an Indian, the Rabaconda Street Bike Tire Changer is the #1 tool for fast and easy tire changes of your own.